
|
Do it yourself
| |||
| ||||


How to Replace the Rear Shock Absorbers on a Dacia Duster
Model: Dacia Duster
HS, MK 1
- Years 2010-2017
Replace the rear shock absorbers on the Dacia Duster; start by removing from the boot: the parcel shelf, the boot floor, the spare wheel (by unscrewing the fastener), the storage compartments under the floor (removing the plastic pins) and lower the rear seat backs. Now lift the car, remove the left rear wheel, unscrew the 2 torx screws with a T20 torx spanner from the left inner plastic cover, remove the seal from the left rear door and take off the plastic; spray lubricant on the shock absorber nuts, disconnect the pipes from the bracket, unscrew the upper nut (16mm spanner) while holding the bolt (5mm hex key), lift the rear brake drum with a jack, remove the two lower nuts with an 18mm spanner (unscrewing the nut while holding the bolt on the first, while unscrewing the bolt and holding the nut on the second), then move the shock absorber. After removing the left inner plastic cover, insert a 6mm hex key and various extensions to hold the shock absorber in place, unscrew the inner upper nut with a 21mm socket and various extensions (with help from another person to hold the shock absorber from the outside), then remove the nut, the upper plate, and the shock absorber. Once the shock absorber is removed, place it on a press, compress it, hold the upper bolt with a 6mm hex key and unscrew the upper nut with a 27mm spanner; after unscrewing the nut, remove the upper rubber, the washer, and the upper plate; now remove the shock absorber from the press, fit the rubber protection; place the spring on the press, compressing it, insert the lower end of the spring onto the mark on the lower plate of the shock absorber, position the upper plate with the mark on the upper end of the spring, fit the washer, the upper rubber and, while holding the bolt with a 6mm hex key, screw the upper nut with a 27mm spanner (torque with a torque wrench 6.2Nm) and remove the shock absorber from the press. Position the shock absorber on the car, with another person holding the shock absorber from the outside, fit the inner upper plate and the nut (screwing it by hand); position the shock absorber on the outer lower holes, screw the nuts and bolts with two 18mm spanners (torque with a torque wrench 10.5Nm), position the upper bolt, screw the nut with a 16mm spanner, holding the bolt with a 5mm hex key (torque with a torque wrench 5Nm), reconnect the pipes to the bracket, remove the jack from under the brake drum, fit the left rear wheel, lower the car, screw the inner upper nut while holding the bolt with a 5mm hex key and various extensions, unscrew the nut with a 21mm socket (or 19mm) and various extensions (torque with a torque wrench 4.4Nm); refit the left inner upper plastic by screwing the 2 torx screws with a T20 torx spanner, reposition the seal of the left rear door, refit the rear storage compartments under the floor with the plastic pins, refit the spare wheel by screwing the fastener, lift the rear seat backs, reposition the boot floor and refit the parcel shelf. This operation should also be performed on the other side. After this operation, it is advisable to perform a wheel alignment.
Updated on 15 May 2026 by ScegliAuto
Video tutorial
Related tutorials
Dacia Duster
(2010-2017 /
HS, MK 1)
The video focuses on cleaning the upholstery of the rear seats in a Dacia Duster but also shows how to unclip them. It's quite simple: in the Dacia D…
Dacia Duster
(2017-2024 /
HM, MK 2)
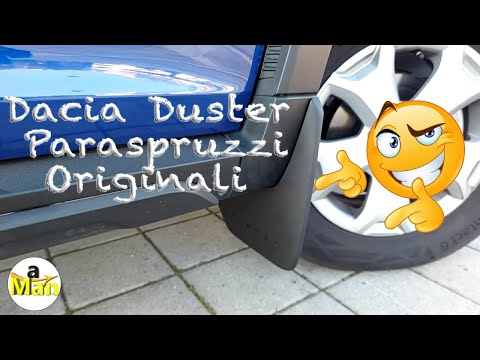
Learn how to fit mud flaps on the Dacia Duster: as the YouTuber rightly points out, the Duster's wheels are large and somewhat exposed, so when there…

Dacia Duster
(2017-2024 /
HM, MK 2)
In this tutorial, we can see how to disassemble the rear lights on the Dacia Duster, a very simple and quick operation. First of all, make sure that …
Other guides you may be interested in
|
How to Open the Bonnet on the Lancia Y
To open the bonnet on this vehicle, follow these simple instructions: first, open the driver's door and locate the lever positioned just below the dashboard, marked with an image of the vehicle with the bonnet open. Pull this lever towards you until you hear a "click" indicating the bonnet is released. Next, exit the cabin and stand in front of the bonnet to disengage the safety catch and complete the opening. To do this, slightly lift the bonnet, locate the yellow lever underneath, and pull it to the left to fully release and open the bonnet. by ScegliAuto More videos
|
|
For advertising on this site Write to info@scegliauto.com
ScegliAuto is not responsible for any inaccuracy of the data in the lists. To report any inaccuracy or your business (if you own the business in question), please write to info@scegliauto.com
Number of seconds to generate the page: 0.179
(c) ScegliAuto 2026 - info@scegliauto.com - Privacy policy VAT number: IT01247470535 |
