
|
Do it yourself
| |||
| ||||


How to Reset the Maintenance Light on a 2020 Dacia Duster
Model: Dacia Duster
HM, MK 2
- Years 2017-2024
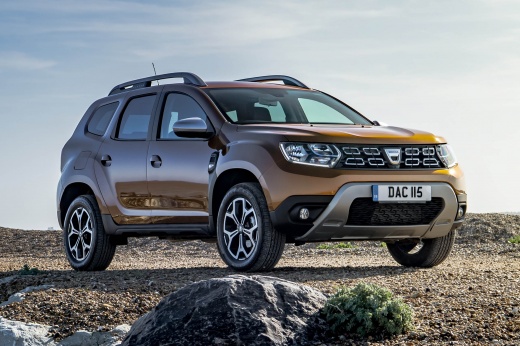
This video shows the steps to reset the maintenance light on a 2020 Dacia Duster. The process is straightforward. First, get into the vehicle, insert the key into the ignition slot, and turn it to the first position to power on the instrument cluster without starting the engine. On the display, you will see the maintenance light with a spanner icon; use the buttons on the right side of the steering wheel to navigate through the settings menu options. Select 'Service Interval' and then press and hold the button with the upward arrow icon. Keep the button pressed until the display shows the flashing text. Release the button to complete the operation.
Updated on 5 June 2026 by ScegliAuto
Video tutorial
Related tutorials
Dacia Duster
(2017-2024 /
HM, MK 2)
The following steps will show us how to reset the maintenance service light for the oil change on the Dacia Duster. First, we get into the car and st…

Dacia Duster
(2017-2024 /
HM, MK 2)
Today we will see the necessary instructions in order to reset the service light for the regular maintenance of the Dacia Duster. First of all, we ge…

Dacia Duster
(2017-2024 /
HM, MK 2)
How to reset the maintenance light when it comes on in a Dacia Duster? The maintenance light indicates when a service is due after a certain distance…
Other guides you may be interested in
|
Frequently Asked QuestionsHow to Replace the Cabin Filter on the Opel Grandland X
If you own an Opel Grandland X and want to know the steps to replace the cabin air filter, carefully read the following guide and follow the described steps. First, enter the vehicle and go to the passenger side. Then, locate the box containing the air filter in the lower side area of the dashboard. Remove the cover of the box and finally replace the old filter with the new one. Refit the cover, and you are done. by ScegliAuto More videos
|
|
For advertising on this site Write to info@scegliauto.com
ScegliAuto is not responsible for any inaccuracy of the data in the lists. To report any inaccuracy or your business (if you own the business in question), please write to info@scegliauto.com
Number of seconds to generate the page: 0.514
(c) ScegliAuto 2026 - info@scegliauto.com - Privacy policy VAT number: IT01247470535 |
