
|
Do it yourself
| |||
| ||||


How to Replace the Front Shock Absorber
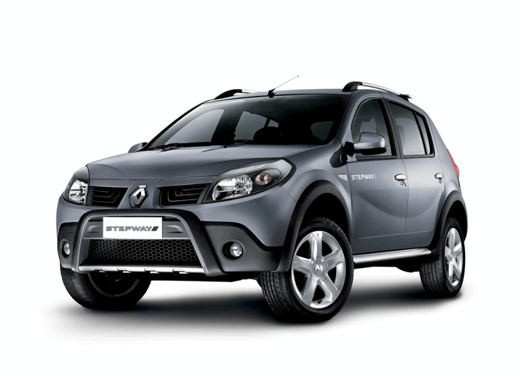
Model: Dacia Sandero
BS
- Years 2008-2012
Place the car on a ramp and lift it to a comfortable height for working. Remove the front wheel corresponding to the shock absorber to be replaced. Disconnect the brake cable guide by unscrewing the appropriate screw. Open the bonnet and remove the brake fluid reservoir cap. Now, remove the brake caliper by unscrewing the bolts that secure it to the disc. At this point, unscrew the bolts that connect the shock absorber to the wheel using the appropriate spanner. In the engine bay, locate the bolt that secures the top of the shock absorber and unscrew it. Extract the shock absorber from its housing. Place the shock absorber in a suitable machine to compress the spring. Unscrew the top bolt and remove the components above the spring. Replace the old spring and the components above it. Reassemble the shock absorber by following the reverse of the previous steps. The maintenance operation shown in the video was performed on a Dacia Sandero.
Updated on 20 February 2026 by ScegliAuto
Video tutorial
Related tutorials
Dacia Sandero
(2012-2020 /
B8)
The battery of the 2017 Dacia Sandero is located inside the front hood, specifically next to the left front headlight. The steps to follow when repla…

Dacia Sandero
(2012-2020 /
B8)
The fuse for the front window regulator of a Dacia Sandero mk2 model car is located inside the fuse box located behind the left side dashboard panel.…

Dacia Sandero
(2012-2020 /
B8)
These short and simple steps will allow us to disassemble and replace the front windshield wipers of the Dacia Sandero. First, let's move to the fron…
Other guides you may be interested in
|
How to replace the horn on a Renault Duster - Dacia Duster
Today's main instructions will show you the procedure for removing and replacing the horn or sound signal on the Renault Duster, as well as the Dacia Duster. First, open the bonnet of the vehicle and start removing the front bumper by unscrewing all the fixing screws; you will find the horn right in front of the radiator, as shown in the video. At this point, disconnect the electrical connector and unscrew the bracket screw to remove and replace the horn with the new one; finally, reassemble the front bumper! by ScegliAuto More videos
|
|
For advertising on this site Write to info@scegliauto.com
ScegliAuto is not responsible for any inaccuracy of the data in the lists. To report any inaccuracy or your business (if you own the business in question), please write to info@scegliauto.com
Number of seconds to generate the page: 0.921
(c) ScegliAuto 2026 - info@scegliauto.com - Privacy policy VAT number: IT01247470535 |
