
|
Do it yourself
| |||
| ||||


What happens if the belt breaks on a Fiat Ducato
Model: Fiat Ducato
X250
- Years 2006-2014
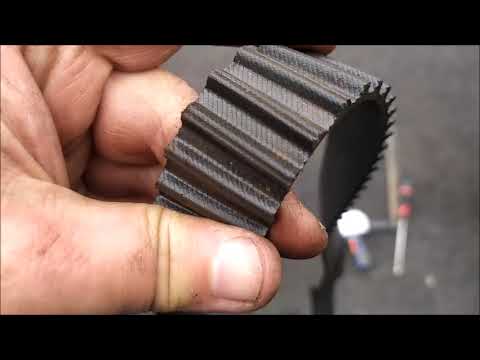
In this video, the friendly youtuber was about to enjoy a day at the beach, but the timing belt of his Fiat Ducato broke on the highway. He rightly stopped the vehicle and called the tow truck to transport the vehicle to a mechanic who will assess the extent of the damage. If we were lucky, the pistons and cylinder head may have been saved, but in most cases we will have to replace the valves, recondition the cylinder head, or even replace the engine. How can we avoid the breakage? As the youtuber also tells us, we should not wait for the time or mileage deadline to have the belt checked, and when we do the replacement, remember to always change the water pump and check the wear of the tensioners and rollers; always check for oil leaks that could damage the belt. Changing the belt is expensive (it costs about 600 euros) but it is nothing compared to the 2,500/3,000 needed for cylinder head and valve repair, or the 4,000/7,000 needed for a new engine.
Posted on 28 June 2025 by ScegliAuto
Video tutorial
Related tutorials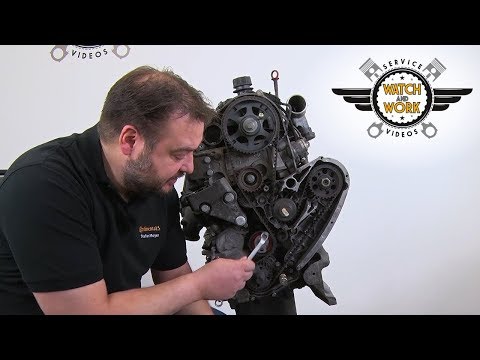
Fiat Ducato
(2006-2014 /
X250)
In this video, you will learn how to change the timing belt on the Fiat Ducato 2.3: start by removing the belt, taking out the screws located under t…
Fiat Ducato
(2002-2006 /
)
To replace the timing belt on a Fiat Ducato 2.8 JTD, lift the vehicle to remove the front right wheel and its wheel arch. This will provide access to…

Fiat Ducato
(2006-2014 /
X250)
You can replace the timing belt on a Fiat Ducato by opening the bonnet to access the components inside the engine compartment: here, on the left side…
Other guides you may be interested in
|
How to Connect the Cables to the Battery of the Citroen Xsara Picasso?
In this tutorial, you will see how to connect the cables to the battery of the Citroen Xsara Picasso, useful if you need to recharge it or perform an emergency start. First, ensure the key is not inserted, then open the bonnet and move to the front of the left headlamp. Next, locate the bolt just behind the filter box and connect the positive terminal clamp to it. Now you can connect the negative terminal to any point on the chassis, such as the indicated point. Once the operation is complete, ensure you disconnect the negative first and then the positive. by ScegliAuto More videos
|
|
For advertising on this site Write to info@scegliauto.com
ScegliAuto is not responsible for any inaccuracy of the data in the lists. To report any inaccuracy or your business (if you own the business in question), please write to info@scegliauto.com
Number of seconds to generate the page: 0.092
(c) ScegliAuto 2026 - info@scegliauto.com - Privacy policy VAT number: IT01247470535 |
