
|
Do it yourself
| |||
| ||||


The importance of correctly orienting the headlight bulb
Model: Fiat Tipo
356, 357, 358
- Years 2016-2026
This video is very useful because it explains a common but often overlooked problem: the importance of correctly orienting light bulbs. In fact, H4 and H7 bulbs have an asymmetric shape, and if they are not inserted correctly, the light is projected poorly. So if they are turned or not completely inserted, they can dazzle other drivers, or provide insufficient lighting. For example, in the video, the improperly mounted LED caused a loss of illumination on the road, even though it appeared to be on; simply remounting it correctly solved the problem. Each headlight has a specific guide or fitting that forces the bulb to enter only one position; make sure the locking clip is securely in place. After installation, turn on the headlights and check the light pattern a few meters from a wall (in a dark environment). The light should be uniform and focused on the right side (for EU countries) without dark spots and upward dispersion. Adjustment with dedicated screws for height and direction may be necessary.
Posted on 4 September 2025 by ScegliAuto
Video tutorial
Related tutorials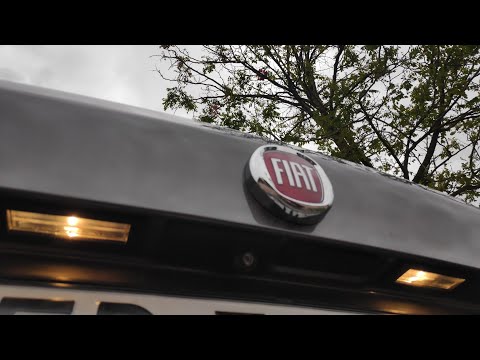
Fiat Tipo
(2016-2026 /
356, 357, 358)
Learn how to remove the number plate light on a Fiat Tipo to replace the bulb. Use a screwdriver or plastic lever to remove the number plate light lo…

Fiat Tipo
(2016-2026 /
356, 357, 358)
This guide provides instructions on how to remove and replace the indicator bulb in the front headlamp of a Fiat Tipo. First, open the bonnet of the …

Fiat Tipo
(2016-2026 /
356, 357, 358)
Today, learn how to independently replace the headlight bulbs on the left and right of a Fiat Tipo Multijet. To replace the right headlight bulb, ope…
Other guides you may be interested in
|
How to Check the Oil Level on a Jeep Renegade?
To check the oil level on a Jeep Renegade, you need to open the bonnet to access the components inside the engine bay: on the lower left side of the engine block, you will find the dipstick for checking the level. This should be pulled out and thoroughly cleaned with a cloth: once cleaned, reinsert it back into its tube and pull it out immediately after. This way, you can check that the oil mark is between the minimum and maximum levels; finally, you can place the dipstick back in its tube. by ScegliAuto More videos
|

|
For advertising on this site Write to info@scegliauto.com
ScegliAuto is not responsible for any inaccuracy of the data in the lists. To report any inaccuracy or your business (if you own the business in question), please write to info@scegliauto.com
Number of seconds to generate the page: 0.196
(c) ScegliAuto 2026 - info@scegliauto.com - Privacy policy VAT number: IT01247470535 |
