
|
Do it yourself
| |||
| ||||


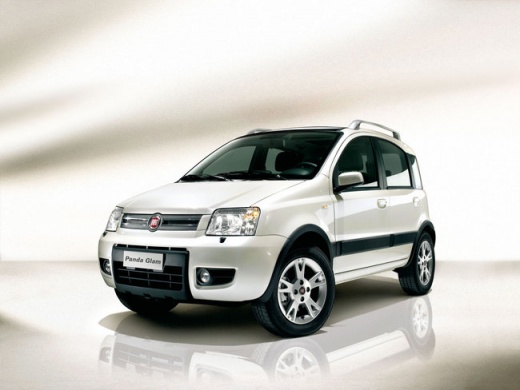
How to resolve water accumulation in the footwell of a Fiat Panda
Model: Fiat Panda
169, MK 2
- Years:
2003, 2004, 2005, 2006, 2007, 2008, 2009, 2010, 2011, 2012
Video tutorial
The problem with this Fiat Panda was water causing excessive humidity in the cabin, misted windows, and wet carpets. The cause was blocked drainage holes located under the windscreen in the wiper area, obstructed by leaves, mud, and dirt. Water cannot drain and ends up inside the cabin. You need to remove the wipers, take off the plastic covers under the windscreen, and clean the drainage holes (one on the right and one on the left, which are rubber plugs blocked by debris). They need to be unblocked, and then reassemble everything. Signs of this problem include misted windows every morning, wet carpets, and the presence of mould or corrosion in the area under the windscreen. These drains should be kept clean, perhaps once a year.
Posted on 29 April 2026 by ScegliAuto
Related tutorials
Fiat Panda
(2003-2012 /
169, MK 2)
To replace the water pump on a Fiat Panda, lift the car so that the front right wheel is off the ground: this wheel will then need to be removed alon…

Fiat Panda
(2003-2012 /
169, MK 2)
In this guide, we will see the main instructions for disassembling and replacing the water pump, as well as the timing belt, on the Fiat Panda 1.2, s…

Fiat Panda
(2012-2023 /
)
If there is some moisture in the front optical group of our Fiat Panda, we can isolate the electrical parts, following the instructions of this youtu…
Other guides you may be interested in |
Frequently Asked QuestionsHow to Remove the Rear Seat of a Hyundai Tucson?
To remove the rear seat of a Hyundai Tucson, follow these steps. Start by moving the front seats to their most forward position to gain space. Next, locate the release lever on the underside of the rear seat, near the floor. Press this lever down while pulling the seat upwards to unlock it from the anchor pins. Once unlocked, tilt the seat upwards and forwards to remove it from its position. Repeat this process for both sides of the rear seat. Be careful of any electrical cables or components that may be connected to the seat during removal. Once the rear seat is removed, the disassembly is complete. by ScegliAuto More videos
|
|
For advertising on this site Write to info@scegliauto.com
ScegliAuto is not responsible for any inaccuracy of the data in the lists. To report any inaccuracy or your business (if you own the business in question), please write to info@scegliauto.com
Number of seconds to generate the page: 0.020
(c) ScegliAuto 2026 - info@scegliauto.com - Privacy policy VAT number: IT01247470535 |
