
|
Do it yourself
| |||
| ||||


Radiator Replacement for Fiat Panda Second Series
Model: Fiat Panda
169, MK 2
- Years 2003-2012
Replacing the radiator on a Fiat Panda second series (2003 - 2010) is not a simple task and requires considerable experience and skill. The video will help you understand how to proceed and what to disconnect. From inside the vehicle, remove the gear lever cover and the two screws holding the dashboard cover, which provides access to the air vents. Once the various dashboard covers are removed, disconnect the electrical connectors. Place a container to collect the radiator water, and replace the connecting hoses, which you will recognise by their colour. After this, pull the radiator out sideways and insert the new one. The bulk of the work is nearly complete. Reassemble the dashboard following the initial layout.
Updated on 10 March 2026 by ScegliAuto
Video tutorial
Related tutorials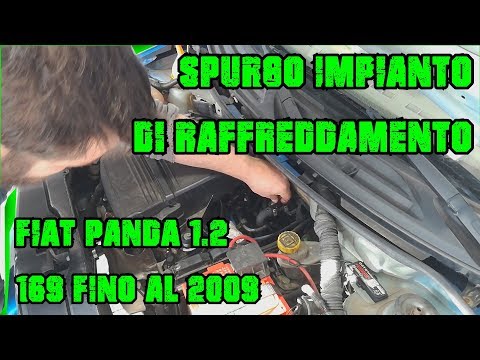
Fiat Panda
(2003-2012 /
169, MK 2)
Follow these steps to bleed and replace the radiator fluid on a Fiat Panda 169 second series, with a 1.2 petrol engine. First, open the bonnet of you…
Fiat Panda
(2003-2012 /
169, MK 2)
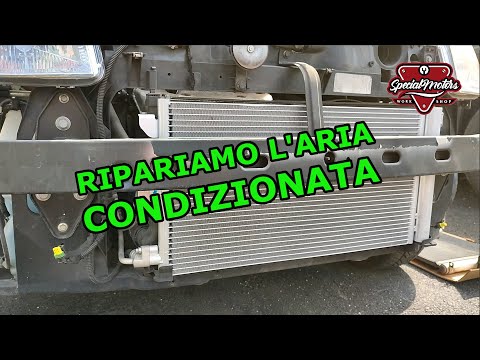
Today, let's see how to dismantle and replace the radiator and air conditioning pipes on the Fiat Panda. First, open the bonnet and begin to remove t…
Fiat Panda
(2003-2012 /
169, MK 2)
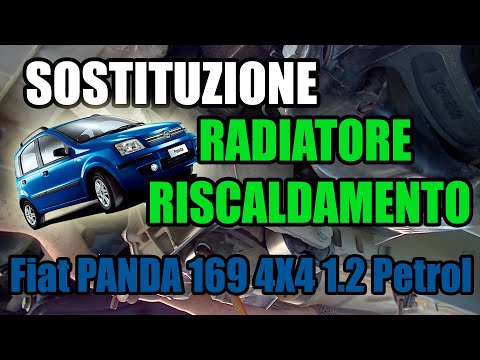
Before starting, sit in the driver's seat of your Fiat Panda. Begin by dislodging the gear lever gaiter from its housing and lifting it. Next, unscre…
Other guides you may be interested in
|
How to Bleed the Clutch on a Renault Clio?
To bleed the clutch on a Renault Clio, open the bonnet to access the components located in the engine bay: here, you will need to undo the screws that secure the battery in its housing, the intake manifold, and the coolant reservoir. This will allow you to locate the pipe through which the brake fluid flows: by inserting the other end of the pipe into a container, you can press the clutch pedal to expel all the fluid until it fills the container. by ScegliAuto More videos
|

|
For advertising on this site Write to info@scegliauto.com
ScegliAuto is not responsible for any inaccuracy of the data in the lists. To report any inaccuracy or your business (if you own the business in question), please write to info@scegliauto.com
Number of seconds to generate the page: 0.423
(c) ScegliAuto 2026 - info@scegliauto.com - Privacy policy VAT number: IT01247470535 |
