
|
Do it yourself
| |||
| ||||


How to Replace the Timing Belt on a Fiat Panda 141
Model: Fiat Panda
MK 1, 141
- Years:
1980, 1981, 1982, 1983, 1984, 1985, 1986, 1987, 1988, 1989, 1990, 1991
Video tutorial
Replacing the timing belt and water pump on the Fiat Panda 141 requires attention and method. Start by loosening the wheel bolts while the car is on the ground, then lift the vehicle; remove the splash guard and the flywheel from the crankshaft by unscrewing the three nuts. Loosen the alternator to remove the auxiliary belt. Drain the cooling system by acting on the radiator hose. Remove the tensioner and the timing belt. The water pump is secured with three screws and a nut: remove it and clean the seat thoroughly with sandpaper and degreaser. You can find the pump + belt kit on Amazon with code B00DQCIXVM for £50.49, with free delivery. Before fitting the new pump, apply sealant paste on both sides of the gasket. Timing is critical: align the mark on the camshaft with the reference on the cover and the mark on the flywheel (gearbox side) with zero. Fit the new belt, respecting the direction of rotation, and tension it with the tensioner (it should resist at 90°). Refit the flywheel (taking care with centring), the alternator belt, and the splash guard. Check the timing after two complete turns.
Posted on 13 July 2026 by ScegliAuto
Related tutorials
Fiat Panda
(1980-2003 /
MK 1, 141)
Today's guide will provide important instructions on how to remove and replace the timing belt on the Fiat Panda 1.1 Fire; it is recommended to repla…
Fiat Panda
(1980-2003 /
MK 1, 141)
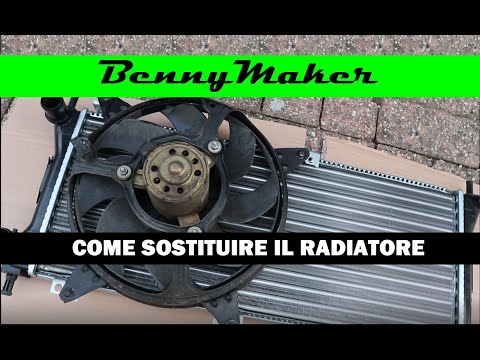
In this tutorial video, you will learn how to remove and replace the engine cooling radiator on a Fiat Panda 141 1100 Petrol. First, open the bonnet …

Fiat Panda
(1980-2003 /
MK 1, 141)
If we want to renew the dashboard of our old and beloved Fiat Panda 141 without altering it too much, we have the option to install this useful acces…
Other guides you may be interested in
|
How to Activate the Disabled TRC on the Toyota Yaris?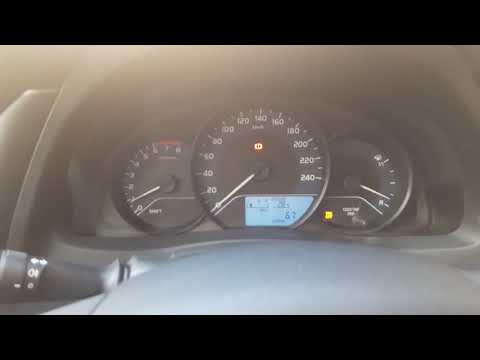
As the video clearly shows, disabling or activating the traction control (TRC or ESP) on the Toyota Yaris is very simple. By default, the traction system activates every time the vehicle is started. To disable it, simply press the button depicting a skidding car located in the centre of the vehicle where the controls are, such as the hazard lights and the radio, but near the handbrake. Once disabled, the TRC off light will illuminate on the dashboard. To reactivate it, just press the same button again. by ScegliAuto More videos
|
|
For advertising on this site Write to info@scegliauto.com
ScegliAuto is not responsible for any inaccuracy of the data in the lists. To report any inaccuracy or your business (if you own the business in question), please write to info@scegliauto.com
Number of seconds to generate the page: 0.046
(c) ScegliAuto 2026 - info@scegliauto.com - Privacy policy VAT number: IT01247470535 |
