
|
Do it yourself
| |||
| ||||


How to Replace the Tie Rod and Steering End on a Fiat Panda 169
Model: Fiat Panda
169, MK 2
- Years 2003-2012
For this operation, you will need the replacement part which can be found on Amazon with the code B00PNLBAMS at the price of £29.06, with free delivery. Lift the front of the car and spray degreaser on the tie rod end and the nut of the rack tie rod, allowing it to sit for a few minutes. With a marker, make a reference mark between the body of the tie rod end and the tie rod. Also, count the number of turns to completely unscrew it. Using a caliper, measure the distance between the locknut and the end of the tie rod thread on the rack. This will allow you to reassemble with correct geometry. Now, loosen the 17 mm tightening nut that secures the tie rod end to the wheel hub; unscrew the locking nut between the tie rod end and the tie rod, then detach the tie rod end (using a hammer to strike the side of the hub hole, not the pin!). Do not use a pry bar as it will force it. Unscrew the nut and remove the tie rod end, unscrew the tie rod end from the tie rod while counting the turns and respecting the mark made. Remove the locknut of the tie rod (the one we measured) and the gaiter of the rack: the most difficult point is unscrewing the tie rod from the rack, as it may be very stuck. Once the component is removed, clean the thread of the rack, fit the new sealing washer, install the new tie rod, lubricate the thread and screw it in by hand; fit the new gaiter, the locknut, and the new tie rod end making the same number of turns counted during disassembly, insert the tie rod end into the hub hole and screw the tie rod end nut onto the pin, tightening the 17 mm nut to a torque of 40/60 Nm. Refit the wheel, lower the car, and tighten the nuts in a cross pattern. Now, you need to have the alignment checked: this is a mandatory step as you have modified a steering component. Without it, the car will be dangerous and will wear the tyres abnormally.
Posted on 11 August 2026 by ScegliAuto
Video tutorial
Related tutorials
Fiat Panda
(2003-2012 /
169, MK 2)
In this video we can see how to replace the stabilizer link on a Fiat Panda 169: first, we lift the car so we can remove the wheel. Once this operati…
Fiat Panda
(2003-2012 /
169, MK 2)
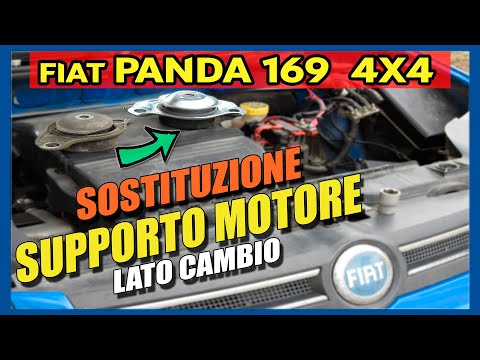
In this video, see how to remove and replace the engine mount on the gearbox side of the Fiat Panda 169, following the instructions below. First, ope…

Fiat Panda
(2003-2012 /
169, MK 2)
This video outlines all the necessary steps to replace the thermostat on a Fiat Panda 169, including how to replace the temperature sensor. By follow…
Other guides you may be interested in
|
Frequently Asked QuestionsHow to Open the Bonnet on the Lancia Y
To open the bonnet on this vehicle, follow these simple instructions: first, open the driver's door and locate the lever positioned just below the dashboard, marked with an image of the vehicle with the bonnet open. Pull this lever towards you until you hear a "click" indicating the bonnet is released. Next, exit the cabin and stand in front of the bonnet to disengage the safety catch and complete the opening. To do this, slightly lift the bonnet, locate the yellow lever underneath, and pull it to the left to fully release and open the bonnet. by ScegliAuto More videos
|

|
For advertising on this site Write to info@scegliauto.com
ScegliAuto is not responsible for any inaccuracy of the data in the lists. To report any inaccuracy or your business (if you own the business in question), please write to info@scegliauto.com
Number of seconds to generate the page: 0.448
(c) ScegliAuto 2026 - info@scegliauto.com - Privacy policy VAT number: IT01247470535 |
