
|
Do it yourself
| |||
| ||||


How to Change the Rear Shock Absorbers on the Fiat Panda
Model: Fiat Panda
319, MK 3
- Years 2012-2026
On the Fiat Panda, work on the rear axle with the car lifted in the workshop. Start by loosening the bolts of the rear wheel and then lift the vehicle; once free, remove the wheel to gain direct access to the shock absorber and the axle area. With everything visible, support the rear axle with a jack under the axle to avoid leaving the suspension 'stretched' while unscrewing the fixings. At this point, work on the lower bolt of the shock absorber with a socket and ratchet until the foot of the shock absorber is free from the mount. Next, move to the upper fixing: in the video, you can see the tool working at the top near the wheel arch, and once that point is released, the old shock absorber can be removed. Immediately after, the new shock absorber is shown, and proceed with the installation by placing it back in the same position: first, align the upper part, then realign the lower part using the jack under the axle, so the hole aligns without forcing. Once the fixings are tightened, on the Fiat Panda, remount the wheel and lower the car.
Posted on 17 August 2026 by ScegliAuto
Video tutorial
Related tutorials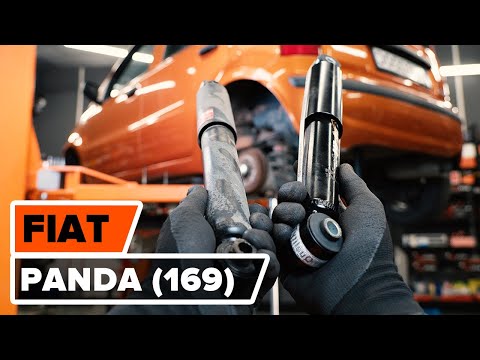
Fiat Panda
(2003-2012 /
169, MK 2)
To replace the rear shock absorbers on a Fiat Panda, lift the car with a jack or ramp so that the rear wheels do not touch the ground. Remove the rea…
Fiat Panda
(2003-2012 /
169, MK 2)
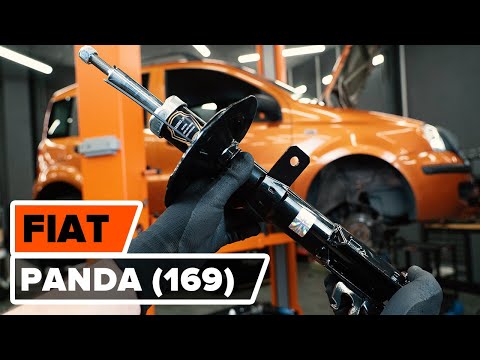
This tutorial shows how to replace the front shock absorbers on the Fiat Panda, a relatively simple task if you have good manual skills. First, lift …

Fiat Panda
(2003-2012 /
169, MK 2)
Today, we will explain how to replace the rear shock absorbers of a Fiat Panda model 2 independently. To remove the rear shock absorbers, lift the re…
Other guides you may be interested in
|
How to Check the Oil Level on a Jeep Renegade?
To check the oil level on a Jeep Renegade, you need to open the bonnet to access the components inside the engine bay: on the lower left side of the engine block, you will find the dipstick for checking the level. This should be pulled out and thoroughly cleaned with a cloth: once cleaned, reinsert it back into its tube and pull it out immediately after. This way, you can check that the oil mark is between the minimum and maximum levels; finally, you can place the dipstick back in its tube. by ScegliAuto More videos
|

|
For advertising on this site Write to info@scegliauto.com
ScegliAuto is not responsible for any inaccuracy of the data in the lists. To report any inaccuracy or your business (if you own the business in question), please write to info@scegliauto.com
Number of seconds to generate the page: 1.504
(c) ScegliAuto 2026 - info@scegliauto.com - Privacy policy VAT number: IT01247470535 |
