
|
Do it yourself
| |||
| ||||


Fiat Panda - Video tutorial
Model: Fiat Panda
MK 2, 169
- Years 2003-2012 The EGR valve is used to pass part of the exhaust gases back to the intake in order to reduce emissions: for this reason, over time, it tends to clog up and no longer work properly. You can therefore try to clean it even if often in reality the problem is not in the valve body but in the electric actuator and therefore simple cleaning may not be sufficient to solve the problem: given the complexity of disassembly, it is suggested to replace the valve with a regenerated one. The valve in question is located at the bottom right (when looking at the engine from the front), near the brake oil reservoir. Unhook the socket connected to the actuator and unscrew the fixing screws of the actuator itself to the valve; at this point check the opening and closing of the valve by pressing on the central plate to check that it is not blocked: if it moves freely, reassemble the actuator. If you wish to proceed with disassembly and cleaning, we recommend that you also disassemble and clean the manifold.
Posted on 7 July 2023 by ScegliAuto
Other guides that may interest you
|
Frequently Asked QuestionsHow do you replace the battery of the BMW R 1250 GS?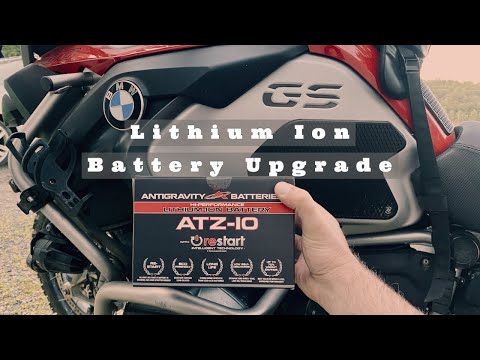
In order to replace the battery of the BMW R 1250 GS it is necessary to loosen the bolts that secure the casing positioned on the left side of the bike, so that its cover can be removed. Once this has been removed, you will be able to access the components below, including the battery. The latter must be removed from its housing by disconnecting the power cables and unscrewing the appropriate fixing bolts. In this way it will be possible to insert a new battery, properly fixing it and connecting it to the relative cables, covering everything with the casing. by ScegliAuto More videos
|
|
For advertising on this site Write to info@scegliauto.com
ScegliAuto is not responsible for any inaccuracy of the data in the lists. To report any inaccuracy or your business (if you own the business in question), please write to info@scegliauto.com
Number of seconds to generate the page: 0.024
(c) ScegliAuto 2024 - info@scegliauto.com - Privacy Policy VAT number: IT01247470535 |