
|
Do it yourself
| |||
| ||||


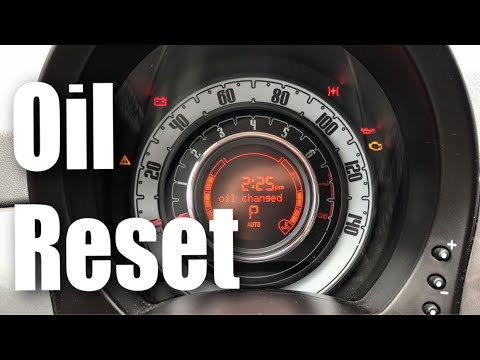
How to reset the Fiat 500 X service light
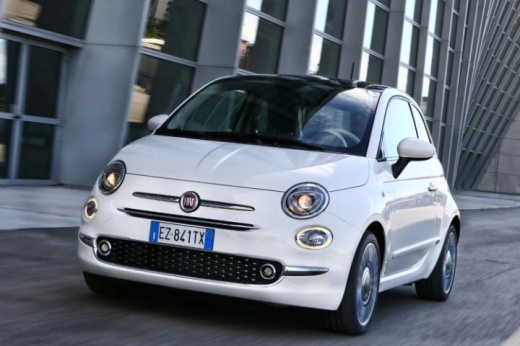
Model: Fiat 500
500 X
- Years 2014-2022
Let's see in this short and simple guide a quick and easy way to reset the service light for the ordinary maintenance of the Fiat 500 X oil change. First of all, we get on board the car and turn on the vehicle's ignition; then we use a diagnostic software to be connected to the OBD socket of our car, in order to be able to communicate with the control unit. At this point we select the brand, model and engine and carry out the various steps indicated until we reach the reset item of the oil warning light; we will then see that the light will be reset!
Posted on 6 February 2022 by ScegliAuto
This video is currently unavailable
Related tutorials
Fiat 500
(2014-2022 /
500 X)
In this short video guide, we see the essential steps and tools to use for a maintenance service of the Fiat 500, including changing the engine oil, …
Fiat 500
(2014-2022 /
500 X)
In this short and simple guide we will understand what are the steps that will allow us to reset the service light of the ordinary maintenance of the…
Fiat 500
(2012-2023 /
500 L)
Before we can start with the reset, we will have to make sure that the service has been carried out, and then sit in the driver's seat of our Fiat 50…
Other guides you may be interested in
|
Frequently Asked QuestionsHow to Replace the Front Headlamp Bulb on a Volkswagen Touareg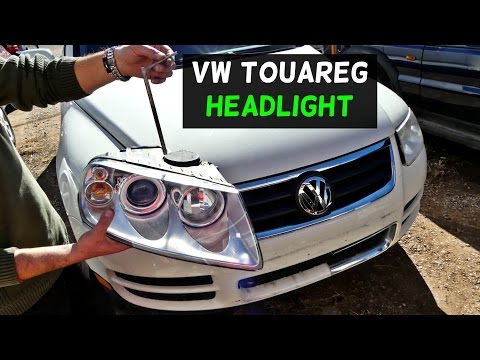
To perform this operation, release the bonnet using the lever and lift it to secure it with the prop rod. Then disconnect the battery terminals to protect any sensitive circuits. Locate the hook, which when rotated allows you to extract the headlamp. After removing the last bolts, you can take out the headlamp from its position and also disconnect the connectors at the back to completely remove it, allowing you to proceed with replacing the necessary components. Retrace the steps described for reassembly. by ScegliAuto More videos
|
|
For advertising on this site Write to info@scegliauto.com
ScegliAuto is not responsible for any inaccuracy of the data in the lists. To report any inaccuracy or your business (if you own the business in question), please write to info@scegliauto.com
Number of seconds to generate the page: 0.099
(c) ScegliAuto 2026 - info@scegliauto.com - Privacy policy VAT number: IT01247470535 |