
|
Do it yourself
| |||
| ||||


Engine Oil Change and Filter Replacement
Model: Fiat Punto
MK 2, 188
- Years 1999-2011
To change the engine oil, first lift the vehicle with a jack or on a ramp. Then, using the appropriate spanner, loosen the bolt on the oil sump and finish unscrewing it by hand. Allow the oil to drain into a suitable container and let it drain completely. Meanwhile, start removing the metal cap that protects the oil filter. Place rags around the filter to catch any residual oil. Unscrew the plastic cap that contains the actual filter. Replace the filter and the seal, lubricating it with a bit of oil. Refit the filter with the plastic cap, followed by the metal cap. Re-tighten the oil sump bolt. Lower the car to the ground and consult the vehicle manual to determine the quantity and type of oil to use. It is advisable to add a partial quantity of oil and check the level on the dipstick. Add more oil according to the dipstick indication. Then, run the engine for a few minutes to allow the oil to circulate completely and restore the level to the maximum. Car model: Fiat Punto 1.3 MultiJet Diesel
Necessary tools: T-spanners and jack 27 and 10mm, 12mm Allen key, T30 Torx.
Updated on 10 February 2026 by ScegliAuto
Video tutorial
Related tutorials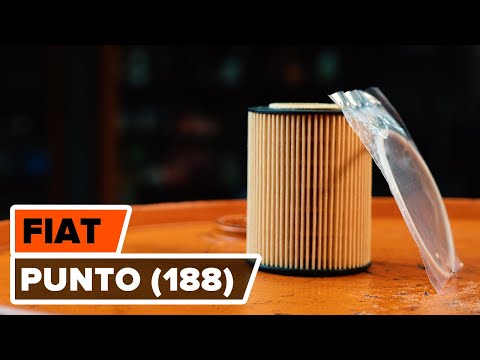
Fiat Punto
(1999-2011 /
MK 2, 188)
Replacing the engine oil and its filter is essential for ensuring optimal engine efficiency. It is recommended to change the filter with every oil ch…
Fiat Punto
(1999-2011 /
MK 2, 188)
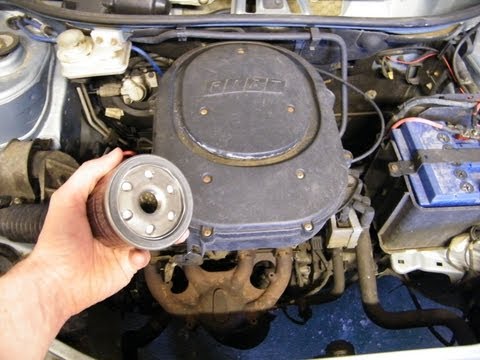
Changing the oil is one of the most common routine maintenance tasks. To drain the used oil, unscrew the plug located at the bottom of the oil sump; …

Fiat Punto
(1999-2011 /
MK 2, 188)
In this video, you will learn how to remove the oil filter from a Fiat Punto powered by a 1.3 MultiJet engine; consequently, an oil change will also …
Other guides you may be interested in
|
How to Remove the Front Bumper of the Citroën C4 Picasso?
To remove the front bumper of the Citroën C4 Picasso, you need to take out all the rivets and screws that secure the piece to its housing: these screws are located inside the wheel arches of the front wheels and at the central upper part of the bumper itself. Once all these fastening elements have been removed, you can detach the bumper from its seat by disconnecting the connectors inside and then insert the new replacement part. The new part can then be secured and connected properly, ensuring it is correctly fixed in place. by ScegliAuto More videos
|
|
For advertising on this site Write to info@scegliauto.com
ScegliAuto is not responsible for any inaccuracy of the data in the lists. To report any inaccuracy or your business (if you own the business in question), please write to info@scegliauto.com
Number of seconds to generate the page: 0.979
(c) ScegliAuto 2026 - info@scegliauto.com - Privacy policy VAT number: IT01247470535 |
