
|
Do it yourself
| |||
| ||||


Check Engine Control Unit Fault Code
Model: Fiat Panda
141, MK 1
- Years 1980-2003
All modern vehicles are equipped with the so-called diagnostic socket: this is the OBD II interface that allows for a diagnostic check of any fault codes stored by the various control units using an appropriate diagnostic tool; this standard was introduced in the mid-nineties and for older vehicles, it is necessary to use an adapter cable to connect the standard diagnostic socket to the three-pin socket of the vehicle in question; once the connection between the three-pin socket and the standard socket is made with the appropriate cable, power the socket and connect the diagnostic tool, select the make and model, and read the fault codes; if the codes reappear after any deletion, further investigation is required by reading the relevant parameters.
Updated on 15 February 2026 by ScegliAuto
Video tutorial
Related tutorials
Fiat Panda
(2003-2012 /
169, MK 2)
The duplication of a car key, in this case a Fiat Panda, but this operation is valid for all Fiat keys, including the Fiat 500 shown in the video, is…

Fiat Panda
(2003-2012 /
169, MK 2)
When asked if it is possible to repair a Blue & me control unit by oneself, the answer is: it depends. Some things can be done by oneself, such as re…
Fiat Panda
(2012-2026 /
319, MK 3)
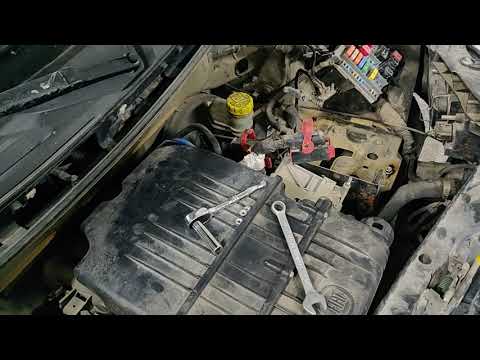
This guide illustrates the main steps to remove and replace the ECU of the Fiat Panda, following the instructions below. First, open the bonnet of th…
Other guides you may be interested in
|
Frequently Asked QuestionsHow to Bleed the Clutch on a Renault Clio?
To bleed the clutch on a Renault Clio, open the bonnet to access the components located in the engine bay: here, you will need to undo the screws that secure the battery in its housing, the intake manifold, and the coolant reservoir. This will allow you to locate the pipe through which the brake fluid flows: by inserting the other end of the pipe into a container, you can press the clutch pedal to expel all the fluid until it fills the container. by ScegliAuto More videos
|
|
For advertising on this site Write to info@scegliauto.com
ScegliAuto is not responsible for any inaccuracy of the data in the lists. To report any inaccuracy or your business (if you own the business in question), please write to info@scegliauto.com
Number of seconds to generate the page: 0.394
(c) ScegliAuto 2026 - info@scegliauto.com - Privacy policy VAT number: IT01247470535 |
