
|
Do it yourself
| |||
| ||||



Video tutorial
In this video tutorial, you will see how to replace the track rod ends on a Fiat 500: get inside the vehicle, turn off the engine, and remove the key, then pull the handbrake. Loosen the bolts of the front wheel without removing them completely; lift the front of the car with a hydraulic jack and place safety stands underneath. Fully unscrew the wheel bolts and remove the wheel, placing it under the vehicle. Use a penetrating fluid to aid in removing the track rod end. Mark a line with a marker between the track rod and the track rod end. Use an adjustable spanner to loosen the supporting nut of the track rod end. Use a 17mm spanner to loosen the fixing nut of the track rod end. Use a hammer to give a sharp tap to the nut. Unscrew the track rod end, being careful to note the mark, then count the number of turns to remove it. Measure the distance between the lock nut and the end of the track rod with a caliper. Remove the lock nut from the track rod. Refit the new track rod end, making the same number of turns it took to unscrew it. Reassemble the track rod end onto the pin and screw on the nut.
Updated on 11 July 2026 by ScegliAuto
Related tutorials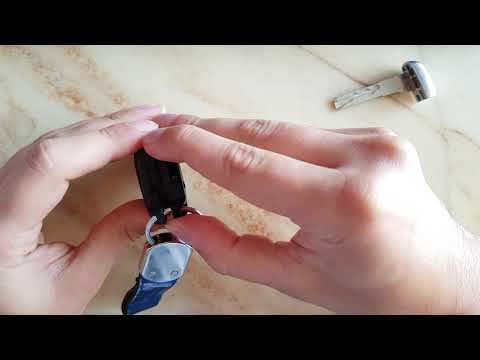
Fiat 500
(2014-2022 /
500 X)
Press the designated unlock button to extract the physical emergency key from the electronic key of your Fiat 500 X. Using the extracted physical key…

Fiat 500
(2012-2023 /
500 L)
In this tutorial, learn how to remove and replace the engine air filter on the Fiat 500 L 1.3 MultiJet and the 500 X. First, open the bonnet and remo…

Fiat 500
(2014-2022 /
500 X)
In this brief video guide, follow the essential steps and tools required for a service on the Fiat 500, including engine oil change, oil filter, and …
Other guides you may be interested in
|
How to Remove the Toll Tag Holder from the Car Windscreen
The toll tag holder is usually attached to the car windscreen to ensure that the toll tag functions immediately when passing through barriers. However, if you decide to remove the holder, you should follow this procedure: - Insert the toll tag into the holder; - Pull the holder inwards to detach it from the windscreen; you can use a glass scraper or a stiff plastic card to assist you; After removing the holder, it is essential to remove the adhesive from the windscreen. To remove the adhesive, we recommend using a solvent-based spray that will remove the glue without clouding the area. by ScegliAuto More videos
|
|
For advertising on this site Write to info@scegliauto.com
ScegliAuto is not responsible for any inaccuracy of the data in the lists. To report any inaccuracy or your business (if you own the business in question), please write to info@scegliauto.com
Number of seconds to generate the page: 0.096
(c) ScegliAuto 2026 - info@scegliauto.com - Privacy policy VAT number: IT01247470535 |
