
|
Do it yourself
| |||
| ||||


How to disassemble and replace the key shell of the Fiat Punto Evo.
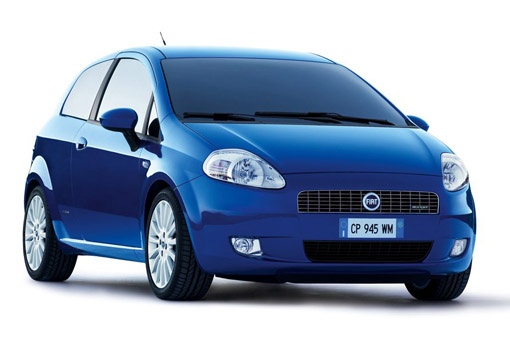
Model: Fiat Punto
MK 3, 199, Grandepunto , Punto EVO
- Years 2005-2018
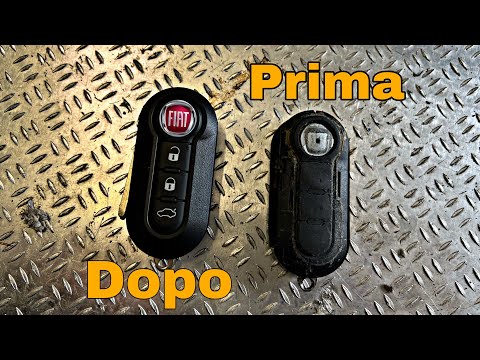
Below we will see the instructions that will allow us to disassemble and replace the shell of the key for the Fiat Punto Evo, as well as the Grande Punto and the 500. First, we take our remote control and begin to pry open the side slot of the remote control, thus opening it in two parts; we remove the small key pin to remove it from the shell, as shown in the video. At this point, we remove the electronic board and the battery, transferring everything to the new key shell; we then reassemble and assemble the remote control, applying the reverse process!
Posted on 6 September 2023 by ScegliAuto
Video tutorial
Related tutorials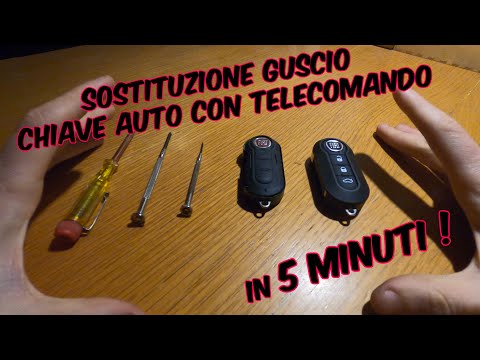
Fiat Punto
(2005-2018 /
MK 3, 199, Grandepunto , Punto EVO)
To be able to replace the key shell of the Fiat Punto Evo, you must first lift the key and then loosen the screw located inside its housing. In this …
Fiat Punto
(2005-2018 /
MK 3, 199, Grandepunto , Punto EVO)
In order to replace the key shell of the Fiat Grande Punto you have to lift the ignition key, so that you can loosen the screw that is inside its hou…
Fiat Punto
(2005-2018 /
MK 3, 199, Grandepunto , Punto EVO)
To replace the key shell of the Fiat Grande Punto, we begin by levering a small flat screwdriver by removing the outer shell where the keys are, then…
Other guides you may be interested in
|
Installation of Upgraded Intercooler Radiator with Pipes
Lift the vehicle on suitable axle stands, remove the front wheels, and then the front bumper and grille. Proceed to remove the front headlights; drain the coolant, remove the intercooler radiator and the hoses connecting it to the intake system. Position the new intercooler radiator in the grille, temporarily securing it with cable ties, and mark with a marker the part of the metal that needs to be removed to allow the new hoses to pass through. Cut the marked portion of metal and apply a gasket to the edge. Remove the inner cover of the bumper and position it near the radiator to identify any interfering parts to eliminate: again, apply a gasket to the edge of the cut. Create brackets for securing the new radiator and proceed with the installation of the connecting pipes from the radiator to the intake, shaping and connecting them appropriately. Finally, reassemble the bumper, headlights, and grille. by ScegliAuto More videos
|
|
For advertising on this site Write to info@scegliauto.com
ScegliAuto is not responsible for any inaccuracy of the data in the lists. To report any inaccuracy or your business (if you own the business in question), please write to info@scegliauto.com
Number of seconds to generate the page: 0.160
(c) ScegliAuto 2026 - info@scegliauto.com - Privacy policy VAT number: IT01247470535 |