
|
Do it yourself
| |||
| ||||


How to Extend the Dashboard of a First Series Fiat Panda
Model: Fiat Panda
141, MK 1
- Years 1980-2003
This video shows how to extend the dashboard of a first series Panda. First, you need a support approximately 120 cm long and some strong adhesives. You will need two complete dashboards, which you will attach to the support. As shown in the video, start inserting them and then remove the excess parts. To ensure the adhesive holds well, you can use clamps to hold the pieces together for a secure bond. Refit the first upper part, using small supports to make joining the pieces easier. Now, you need to reconstruct and cover the entire right side. Use an electrician's tube to replicate the curvature of the dashboard, then create the missing cover with a plastic sheet. Finally, use plastic filler for finishing touches. Now decide how to modify it according to your tastes; this is just a semi-finished product that you can personalise to your preferences.
Updated on 29 August 2026 by ScegliAuto
Video tutorial
Related tutorials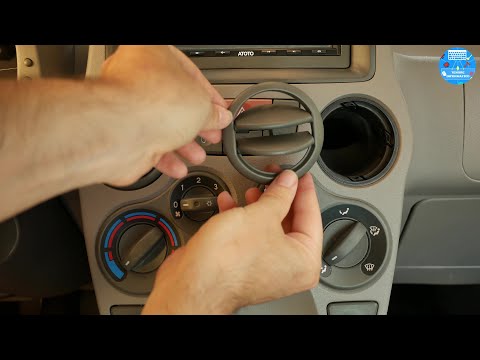
Fiat Panda
(2003-2012 /
169, MK 2)
Want to remove the air vents from a Fiat Panda? Let's see how to remove the vents without damaging the dashboard plastics. Enter the Panda vehicle, l…

Fiat Panda
(2003-2012 /
169, MK 2)
To successfully find the OBD port in your Fiat Panda second series, all you need to do is follow the steps described in our new guide. First, open th…
Fiat Panda
(2012-2026 /
319, MK 3)
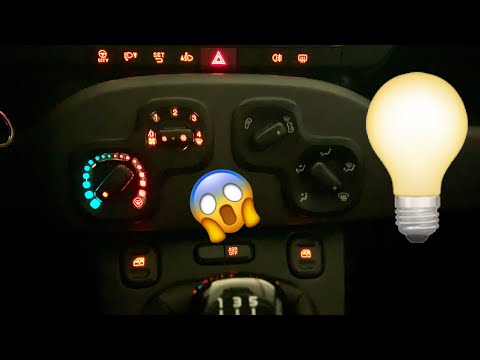
In this video tutorial, you will learn how to dismantle and replace the dashboard bulbs, specifically those for the climate control on the third gene…
Other guides you may be interested in
|
How to Check the Oil Level on a Jeep Renegade?
To check the oil level on a Jeep Renegade, you need to open the bonnet to access the components inside the engine bay: on the lower left side of the engine block, you will find the dipstick for checking the level. This should be pulled out and thoroughly cleaned with a cloth: once cleaned, reinsert it back into its tube and pull it out immediately after. This way, you can check that the oil mark is between the minimum and maximum levels; finally, you can place the dipstick back in its tube. by ScegliAuto More videos
|
|
For advertising on this site Write to info@scegliauto.com
ScegliAuto is not responsible for any inaccuracy of the data in the lists. To report any inaccuracy or your business (if you own the business in question), please write to info@scegliauto.com
Number of seconds to generate the page: 0.583
(c) ScegliAuto 2026 - info@scegliauto.com - Privacy policy VAT number: IT01247470535 |
