
|
Do it yourself
| |||
| ||||


How to Change the Alternator on the Fiat Multipla
Model: Fiat Multipla
MK 1
- Years 1998-2010
If the battery warning light remains illuminated on the instrument panel, it means the alternator is not charging it. This could be due to a simple brush wear issue or possibly a fault with the diode plate or regulator. In any case, you need to remove the alternator located at the lower part of the engine, on the passenger side, just behind the driveshaft. It is advisable to work from below, positioning the vehicle on an inspection pit or a lift. Once the auxiliary belt is removed, disconnect the cables and remove the fixing pins, you must lower the cradle by loosening the respective fixing pins to create enough space to extract the alternator.
Updated on 22 February 2026 by ScegliAuto
Video tutorial
Related tutorials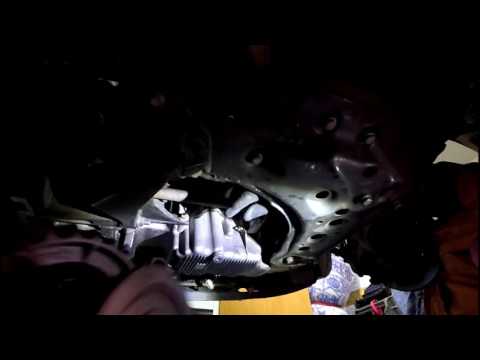
Fiat Multipla
(1998-2010 /
MK 1)
To remove the alternator, it is advisable to pull it out from below, passing it behind the oil sump. Start by loosening the auxiliary belt tensioner …

Fiat Multipla
(1998-2010 /
MK 1)
Before starting, open the bonnet of your Fiat Multipla by pulling the designated release handle located at the bottom left of the steering column. Be…
Fiat Multipla
(1998-2010 /
MK 1)
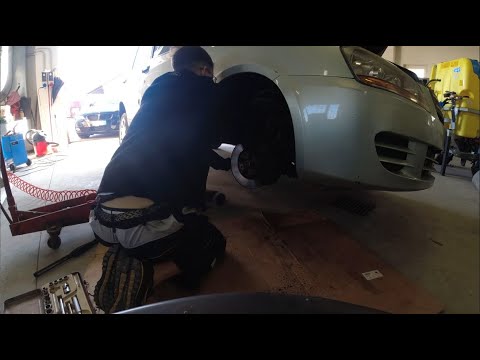
To replace the alternator on a Fiat Multipla JTD, raise the front of the car from the right side, remove the right wheel, unscrew the screws to take …
Other guides you may be interested in
|
How to Replace the Remote Battery for the Volvo XC40?
In this tutorial, you will see how to replace the battery in the remote for the Volvo XC40, a very simple and quick operation. For this, you will need a replacement battery of type CR2032 and possibly a small flathead screwdriver. First, remove the front cover by pressing the button on the metal ring, then locate the second button, press it as well, and remove the opposite cover. Next, open the circular cap, take out the old battery, and insert the new one in the opposite direction. Finally, reassemble everything. by ScegliAuto More videos
|
|
For advertising on this site Write to info@scegliauto.com
ScegliAuto is not responsible for any inaccuracy of the data in the lists. To report any inaccuracy or your business (if you own the business in question), please write to info@scegliauto.com
Number of seconds to generate the page: 0.649
(c) ScegliAuto 2026 - info@scegliauto.com - Privacy policy VAT number: IT01247470535 |
