
|
Do it yourself
| |||
| ||||


How to replace the outer handle of the Ford Explorer Mk4
Model: Ford Explorer
U251, MK 4
- Years 2006-2010
This guide shows how to replace the outer door handle of the Ford Explorer Mk4. The first step is to remove the two trim panels on the side of the switch panel and the handle located at the bottom of the door. Next, you need to unscrew the six 7 mm bolts located in the newly opened recesses and at the bottom of the door panel. Remove the electric mirror control and detach the door panel. Disconnect the lock cable and fully close the window. Remove the insulating sheet and unscrew the 6 mm bolt that holds the structure in place, then remove it. Remove the lock guide rod and unscrew the two 11 mm bolts that hold the handle in place and move the lock cylinder. At this point, tilt the handle up and down to extract it. Install the new handle and check its proper operation.
Updated on 12 May 2026 by ScegliAuto
Video tutorial
Related tutorials
Ford Explorer
(2006-2010 /
U251, MK 4)
This guide shows how to replace the front fog lights on the Ford Explorer Mk4. First, lift the vehicle and disconnect the power cable of the fog ligh…
Ford Explorer
(2006-2010 /
U251, MK 4)
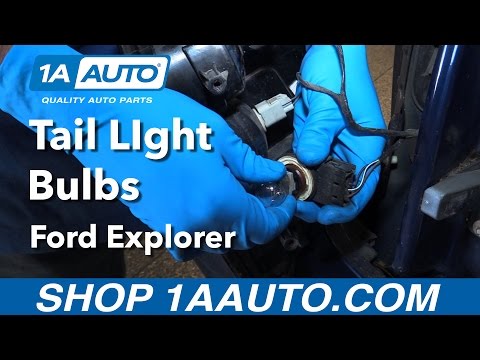
In this video, see how to disassemble and replace the rear light bulbs on the fourth series Ford Explorer in simple steps. First, open the rear tailg…

Ford Explorer
(2006-2010 /
U251, MK 4)
If your 2010 Ford Explorer has a fault in one or more electrical components and you want to access the respective fuses directly, simply follow this …
Other guides you may be interested in
|
How to Check the Oil Level on a Jeep Renegade?
To check the oil level on a Jeep Renegade, you need to open the bonnet to access the components inside the engine bay: on the lower left side of the engine block, you will find the dipstick for checking the level. This should be pulled out and thoroughly cleaned with a cloth: once cleaned, reinsert it back into its tube and pull it out immediately after. This way, you can check that the oil mark is between the minimum and maximum levels; finally, you can place the dipstick back in its tube. by ScegliAuto More videos
|
|
For advertising on this site Write to info@scegliauto.com
ScegliAuto is not responsible for any inaccuracy of the data in the lists. To report any inaccuracy or your business (if you own the business in question), please write to info@scegliauto.com
Number of seconds to generate the page: 0.398
(c) ScegliAuto 2026 - info@scegliauto.com - Privacy policy VAT number: IT01247470535 |
