
|
Do it yourself
| |||
| ||||


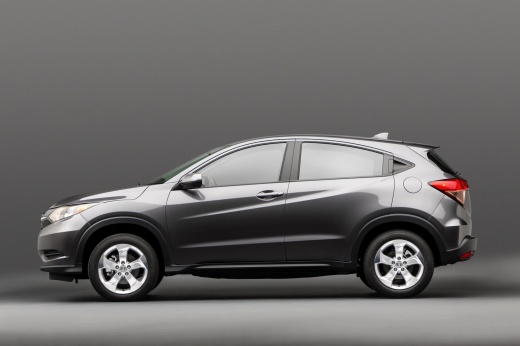
What does the TPMS warning light indicate on the Honda CH V?
Model: Honda Hr V
RU, MK 2
- Years:
2016, 2017, 2018, 2019, 2020, 2021, 2022
Video tutorial
The TPMS warning light symbol refers to the tyre pressure monitoring system. This system is designed by Honda to alert you to a possible loss of pressure or an accidental puncture due to leaks from the valves. Honda uses wheel speed sensors to calculate the difference in wheel speed when a deflation occurs, meaning that deflation alerts can occur without a puncture, such as when losing traction on wet asphalt. When the TPMS light illuminates, you must go to a service station to check the tyre pressures and adjust them according to the manufacturer's specifications. After checking the tyre pressures, reset the warning light. Get in the vehicle and turn on the instrument panel. Press the RESET button located on the steering wheel to access the settings menu and reset the light.
Updated on 6 November 2026 by ScegliAuto
Related tutorials
Honda Hr V
(2016-2022 /
RU, MK 2)
To reset the TPMS light on a Honda HR-V, turn on the ignition or start the engine and use the buttons on the steering wheel to navigate the instrumen…

Honda Hr V
(2016-2022 /
RU, MK 2)
If the orange TPMS light appears on the instrument cluster of your 2020 Honda HR-V (second generation) and there are no punctures, you need to perfor…

Honda Hr V
(2021-2026 /
RV5, RV3, RV4, RV6)
To reset the TPMS light related to tyre pressure on a Honda HR-V, follow these steps: - Turn on the instrument cluster; - Press the HOME button on th…
Other guides you may be interested in
|
How to Remove the Rear Seat of a Hyundai Tucson?
To remove the rear seat of a Hyundai Tucson, follow these steps. Start by moving the front seats to their most forward position to gain space. Next, locate the release lever on the underside of the rear seat, near the floor. Press this lever down while pulling the seat upwards to unlock it from the anchor pins. Once unlocked, tilt the seat upwards and forwards to remove it from its position. Repeat this process for both sides of the rear seat. Be careful of any electrical cables or components that may be connected to the seat during removal. Once the rear seat is removed, the disassembly is complete. by ScegliAuto More videos
|
|
For advertising on this site Write to info@scegliauto.com
ScegliAuto is not responsible for any inaccuracy of the data in the lists. To report any inaccuracy or your business (if you own the business in question), please write to info@scegliauto.com
Number of seconds to generate the page: 0.021
(c) ScegliAuto 2026 - info@scegliauto.com - Privacy policy VAT number: IT01247470535 |
