
|
Do it yourself
| |||
| ||||


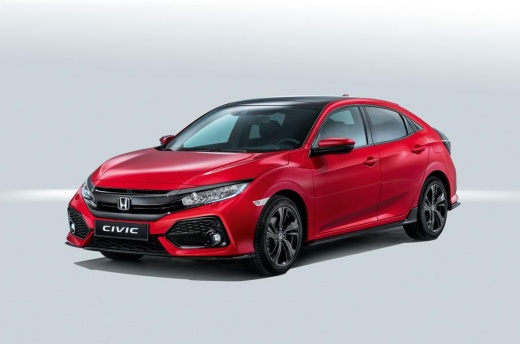
Installing Rear Spoiler
Model: Honda Civic
MK 9
- Years:
2012, 2013, 2014, 2015
Video tutorial
Apply masking tape along the outer edge of the rear boot and attach the drilling template to mark the points for fixing the spoiler. Punch the marked points to assist with drill bit centring and drill first with a smaller bit and then with a larger one; finally, use a countersink to remove any burrs. Apply rust inhibitor. Since the spoiler will increase the weight of the boot, it is necessary to replace the boot support spring with the reinforced one included in the kit. Remove the film from the adhesive strip at the spoiler fixing flange, pass the cable through, and insert the spoiler, tightening the fixing pins. Connect the cable to the rear brake lights.
Updated on 4 February 2026 by ScegliAuto
Related tutorials
Honda Civic
(2001-2006 /
MK 7)
Installing the armrest on the central tunnel involves replacing the entire covering: you will need to relocate the cigarette lighter and aux outlet o…
Honda Civic
(1995-2001 /
MK 6)
Lift the vehicle on a jack (it is advisable to use a car stand for safety) and remove the wheel where the installation will take place. Unscrew the f…
Honda Civic
(1995-2001 /
MK 6)
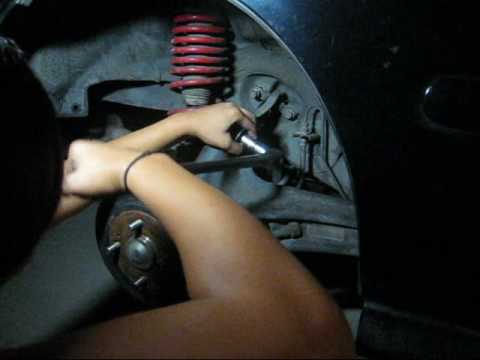
Lift the vehicle with a jack at the wheel where you will perform the installation (it is recommended to use a car stand for safety) and remove the wh…
Other guides you may be interested in |
How to reset the tyre pressure warning light on the Kia Niro EV?
To reset the tyre pressure warning light on the Kia Niro EV, inflate the tyres until they reach the correct pressure value. This value is indicated on the sticker attached to the driver's door pillar. Once the tyres are inflated, turn on the instrument cluster to check that the warning light has completely disappeared from the display. If it is still present, you may need to drive for a few miles to ensure it disappears completely from the screen. by ScegliAuto More videos
|
|
For advertising on this site Write to info@scegliauto.com
ScegliAuto is not responsible for any inaccuracy of the data in the lists. To report any inaccuracy or your business (if you own the business in question), please write to info@scegliauto.com
Number of seconds to generate the page: 0.011
(c) ScegliAuto 2026 - info@scegliauto.com - Privacy policy VAT number: IT01247470535 |
