
|
Do it yourself
| |||
| ||||


Honda Civic - Video tutorial
Model: Honda Civic
MK 6
- Years 1995-2001 Open the front hood and make sure it is supported safely. Using a small, stationary screwdriver, release the push-fit latches of the plastic liner located just above the bezel. Unscrew the fixing screws and the pressure locks of the front bumper, which are located underneath (if possible, it is advisable to lift the car on a lift to facilitate the operation); other screws are located along the edge of the wheel arch. At this point it is possible to unhook the bumper from the side and remove it. The mat is fixed to the bumper by means of plastic nails and two screws: just tap the nails and unscrew the screws to separate it from the bumper. To reassemble, proceed in reverse by first attaching the matte to the bumper and then attaching the bumper itself to the bodywork.
Posted on 3 July 2023 by ScegliAuto
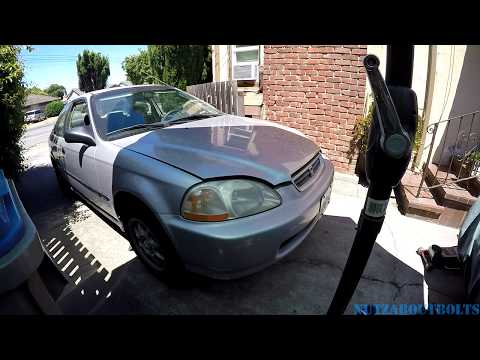 Removal of the front bumper of the Honda Civic 6
Honda Civic (1995-2001 / MK 6) We see in this guide the main instructions to remove and replace the front bumper of the Honda Civic sixth series. First of all we open the bonnet an 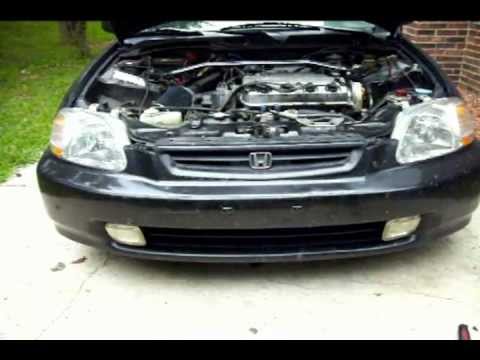 How to remove the headlight of the Honda Civic 6
Honda Civic (1995-2001 / MK 6) Let's see in this video tutorial how to replace the headlights of a sixth generation Honda Civic three-door model, produced from 1995 to 2001. First 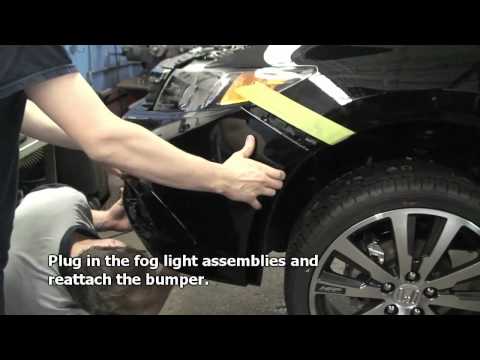 Fog light kit installation
Honda Civic (2012-2015 / MK 9) Remove the fixing screws of the front bezel located in the engine and under the body. Once the operation has been carried out, completely remove the Other guides that may interest you
|
How do I replace the Land Rover Evoque auxiliary battery?
In order to replace the auxiliary battery of the Land Rover Evoque, it is necessary to go inside the passenger compartment and remove the panel which is positioned immediately under the glovebox. Once the screws that secure this panel have been loosened, it will be possible to access the components located in its rear part, including the auxiliary battery. The latter must be disconnected from its cables and the fixing screws must be loosened. The battery can then be replaced with a new one and the panel can be fixed again with its screws. by ScegliAuto More videos
|
|
For advertising on this site Write to info@scegliauto.com
ScegliAuto is not responsible for any inaccuracy of the data in the lists. To report any inaccuracy or your business (if you own the business in question), please write to info@scegliauto.com
Number of seconds to generate the page: 0.039
(c) ScegliAuto 2024 - info@scegliauto.com - Privacy Policy VAT number: IT01247470535 |