
|
Do it yourself
| |||
| ||||


Installation of Fog Light Kit
Model: Honda Civic
MK 9
- Years 2012-2015
Remove the fixing screws of the front grille located in the engine bay and under the bodywork. Once done, completely remove the grille including the bumper. The bumper already has provisions for the installation of the lights where the temporary closing plugs need to be removed. Insert the grilles into the newly freed holes and install the fog lights, securing them with the appropriate brackets provided. Install the power cables for the lights, passing them through the designated holes to connect them to the wires pre-arranged by the manufacturer. Securely fasten the cables and their grounds to the chassis with ties. Connect the newly installed cables to the lights. Correctly reassemble the bumper/grille. Remove the covers at the base of the driver's door and under the dashboard to pass the new cables. Remove the steering wheel covers and replace the light switch lever with one that has the fog light switch. Install the two necessary wires for the ignition in the power connector and install the corresponding relay. For this operation, consult the service manual. Check the correct operation.
Updated on 3 February 2026 by ScegliAuto
Video tutorial
Related tutorials
Honda Civic
(1995-2001 /
MK 6)
First, check the compatibility of the Xenon kit with the vehicle, ensure all components are present (two bulbs, two control units, and the wiring har…
Honda Civic
(2016-2021 /
MK 10)
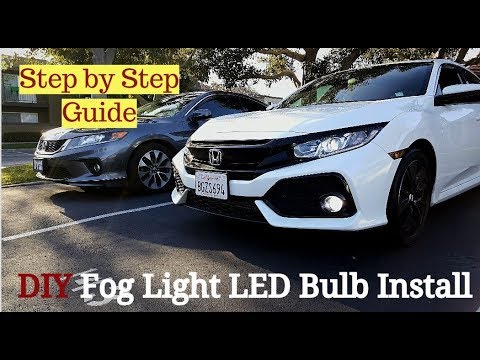
In this video tutorial, learn how to remove and replace the bulbs in the front fog lights of the tenth series Honda Civic, following these simple and…

Honda Civic
(1992-1995 /
MK 5)
Open the bonnet and disconnect the negative terminal of the battery to isolate it.
Unclip and remove the air intake duct to gain easier access to the…
Other guides you may be interested in
|
Where is the Spare Wheel in the Peugeot 5008?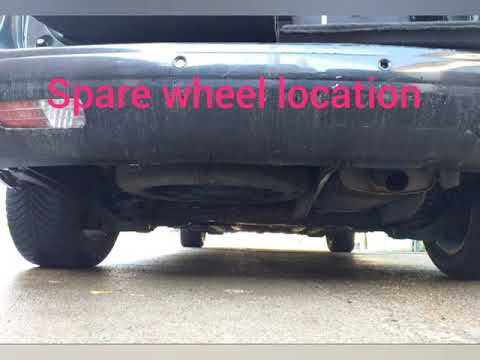
This video shows where the spare wheel is located in the Peugeot 5008 and how to access it, useful in case of a puncture. As shown, the wheel is not in the usual boot compartment but underneath it, outside the vehicle. To free the wheel, first gather the tools provided, then open the boot, locate the small indicated hatch, and open it. Next, loosen the bolt just released using the large socket wrench enough to lower the wheel to the ground. by ScegliAuto More videos
|

|
For advertising on this site Write to info@scegliauto.com
ScegliAuto is not responsible for any inaccuracy of the data in the lists. To report any inaccuracy or your business (if you own the business in question), please write to info@scegliauto.com
Number of seconds to generate the page: 0.565
(c) ScegliAuto 2026 - info@scegliauto.com - Privacy policy VAT number: IT01247470535 |
