
|
Do it yourself
| |||
| ||||


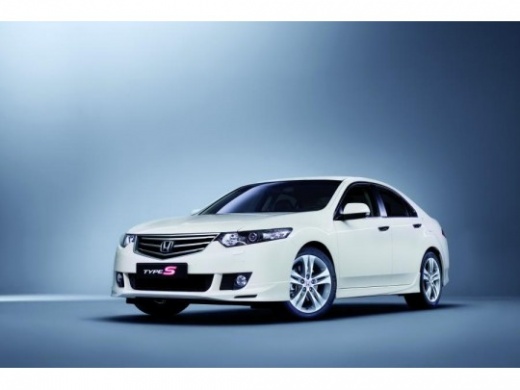
Installation of LED Courtesy Lights
Model: Honda Accord
MK 8
- Years:
2008, 2009, 2010, 2011, 2012, 2013
This video is currently unavailable
If you intend to install LED lights in the footwell area, follow these useful tips: only carry out the installation yourself if you have a good basic knowledge of electronics; obtain some electrical cable, spade connectors, heat-shrink tubing, and a tester; take the power supply for the LEDs from the interior lights so that the LEDs turn on and off with the courtesy lights. Proceed by removing the under-dash cover located just below the steering column and intercept the power supply for the interior lights; use a so-called current tap to connect the wires that will then be applied to the LEDs and prepare the wiring to supply power to both LED strips while respecting polarity.
Updated on 8 February 2026 by ScegliAuto
Related tutorials
Honda Accord
(2018-2023 /
MK 10)
If you want to customise your vehicle by replacing the reversing lights with an equivalent LED model, follow the instructions below and refer to the …
Honda Accord
(2008-2013 /
MK 8)
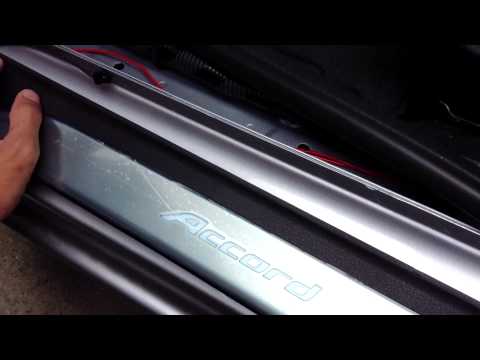
Installing illuminated sill strips along the inner edge of the door sill will give the vehicle a striking appearance: the operation is very simple an…

Honda Accord
(2008-2013 /
MK 8)
If you want to install additional lights on the doors, carefully observe the following images. First, you need to remove the door panel. Remove the c…
Other guides you may be interested in |
How to Remove the Rear Seat of a Hyundai Tucson?
To remove the rear seat of a Hyundai Tucson, follow these steps. Start by moving the front seats to their most forward position to gain space. Next, locate the release lever on the underside of the rear seat, near the floor. Press this lever down while pulling the seat upwards to unlock it from the anchor pins. Once unlocked, tilt the seat upwards and forwards to remove it from its position. Repeat this process for both sides of the rear seat. Be careful of any electrical cables or components that may be connected to the seat during removal. Once the rear seat is removed, the disassembly is complete. by ScegliAuto More videos
|
|
For advertising on this site Write to info@scegliauto.com
ScegliAuto is not responsible for any inaccuracy of the data in the lists. To report any inaccuracy or your business (if you own the business in question), please write to info@scegliauto.com
Number of seconds to generate the page: 0.026
(c) ScegliAuto 2026 - info@scegliauto.com - Privacy policy VAT number: IT01247470535 |
