
|
Do it yourself
| |||
| ||||


Replacement of the Internal Rear-View Mirror with Anti-Glare Model
Model: Honda Insight
ZE3, ZE2
- Years 2009-2014
The internal rear-view mirror with automatic anti-glare function enhances comfort and safety during the night, as it prevents glare from the headlights of vehicles behind. It consists of a reflective element and an electronic device equipped with two photoelectric sensors. Through these sensors, the electronic device detects the incidence of light hitting it from the front and rear. If the light incidence is greater from behind, the mirror darkens. If you choose the accessory line model, installation is extremely simple as it is already pre-configured and wired. Once the original mirror is detached (just rotate and pull it off), insert the new one; at this point, remove the interior light fixture, the A-pillar trim, and the fuse box cover to route the wiring as per the attached diagram.
Updated on 8 February 2026 by ScegliAuto
Video tutorial
Related tutorials
Honda Insight
(2019-2026 /
ZE4)
Today's step-by-step instructions will show us how to disassemble and replace the external rearview mirror of the Honda Insight. First, we open the f…

Honda Insight
(2009-2014 /
ZE3, ZE2)
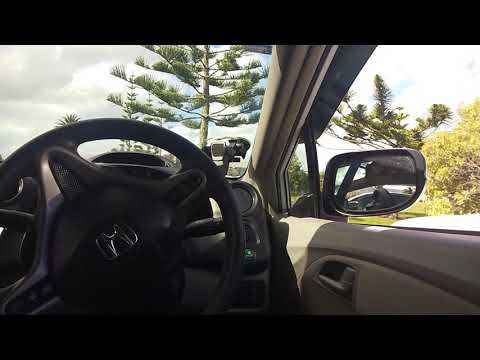
Below we will discover the steps that will show us how to disassemble and replace the external rearview mirror of the Honda Insight. First, open the …
Honda Insight
(2009-2014 /
ZE3, ZE2)
To adjust the cover of the rearview mirror of a Honda Insight, the general steps are as follows. Open the door of the side mirror you want to adjust.…
Other guides you may be interested in
|
How to Check the Oil Level on a Jeep Renegade?
To check the oil level on a Jeep Renegade, you need to open the bonnet to access the components inside the engine bay: on the lower left side of the engine block, you will find the dipstick for checking the level. This should be pulled out and thoroughly cleaned with a cloth: once cleaned, reinsert it back into its tube and pull it out immediately after. This way, you can check that the oil mark is between the minimum and maximum levels; finally, you can place the dipstick back in its tube. by ScegliAuto More videos
|

|
For advertising on this site Write to info@scegliauto.com
ScegliAuto is not responsible for any inaccuracy of the data in the lists. To report any inaccuracy or your business (if you own the business in question), please write to info@scegliauto.com
Number of seconds to generate the page: 0.217
(c) ScegliAuto 2026 - info@scegliauto.com - Privacy policy VAT number: IT01247470535 |
