
|
Do it yourself
| |||
| ||||


Replacing the Dashboard Bulb: Air Conditioning
Model: Honda Civic
MK 7
- Years 2001-2006
Inside the cabin, as is known in modern vehicles, there are three small converters, let’s call them that, which regulate the flow, direction of the air conditioning, and its temperature. These sometimes have a bulb that indicates when they are on: in this video, you will see how to replace it, as it is often an underestimated task. Disconnect, without fully removing, the cigarette lighter panel and then the radio compartment (in this case empty); you will notice that on the side of the converters is the bulb housing under the large piece of plastic with the relevant connectors. Once those are removed, you reach the housing; to remove the bulb, use a flat screwdriver to turn the cap and allow you to extract it. Now comes a delicate part: detach the bulb from its housing. This operation is very delicate: using a very thin flat screwdriver, gently lift the two clips without damaging them as they are an integral part of the bulb. Reassemble everything with due care.
Updated on 9 February 2026 by ScegliAuto
Video tutorial
Related tutorials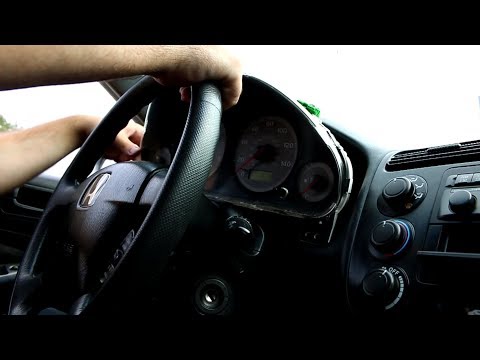
Honda Civic
(2001-2006 /
MK 7)
To replace the instrument cluster bulbs on a Honda Civic, unscrew the bolts located between the instrument cluster and its housing. Once these are re…
Honda Civic
(2001-2006 /
MK 7)
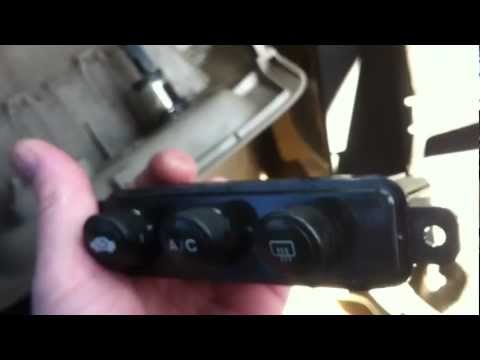
This operation should be carried out on the central dashboard of the car where the radio is located. Unscrew all necessary screws to remove the centr…
Honda Civic
(2006-2012 /
MK 8)
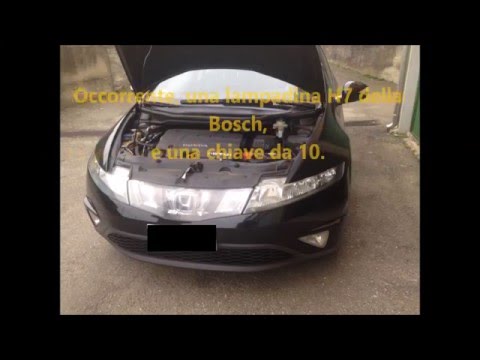
Here’s how to replace the front headlight bulbs on a Honda Civic: open the bonnet by pulling the lever located at the bottom right of the dashboard a…
Other guides you may be interested in
|
How to Check the Oil Level on a Jeep Renegade?
To check the oil level on a Jeep Renegade, you need to open the bonnet to access the components inside the engine bay: on the lower left side of the engine block, you will find the dipstick for checking the level. This should be pulled out and thoroughly cleaned with a cloth: once cleaned, reinsert it back into its tube and pull it out immediately after. This way, you can check that the oil mark is between the minimum and maximum levels; finally, you can place the dipstick back in its tube. by ScegliAuto More videos
|
|
For advertising on this site Write to info@scegliauto.com
ScegliAuto is not responsible for any inaccuracy of the data in the lists. To report any inaccuracy or your business (if you own the business in question), please write to info@scegliauto.com
Number of seconds to generate the page: 0.121
(c) ScegliAuto 2026 - info@scegliauto.com - Privacy policy VAT number: IT01247470535 |
