
|
Do it yourself
| |||
| ||||


How to Install Illuminated Scuff Plates
Model: Honda Cr Z
MK 1
- Years 2010-2016
This tutorial illustrates step by step how to install the "CRZ" illuminated finish on the scuff plate of each door. First, obtain the kit in question. Remove the cover of the fuse box and the cover near the pedals; also take off the lower panels on both sides (driver and passenger) and the front panel on the passenger side. Disconnect the electrical connection of the footwell light. After removing the door seal, mark the limit point of the edge of the finish with a piece of masking tape. Align the finish using the masking tape as a reference. Refit the door seal and mark the positioning of the finish with the masking tape. Trace the size of the illuminated part of the finish on the rubber seal and, using a craft knife, carefully cut out a window of the size you measured. Use pliers to remove the three metal plates in the seal. Clean the application area of the finish thoroughly and attach a piece of protective tape. Peel off the adhesive backing of the finish and position it using the previously applied piece of tape as a reference. Press carefully and remove the adhesive protection by gently pulling the red tabs. Reconnect the electrical connection and refit the door seal, which will cover the cable. Connect the finish connector to the lighting connector in the fuse box. Tie the lighting cable of the finish to the vehicle's wiring. Attach the 8-pin connector. Use ties and aluminium tape to secure the protruding cables. Refit all panels as before.
Updated on 10 February 2026 by ScegliAuto
Video tutorial
Related tutorials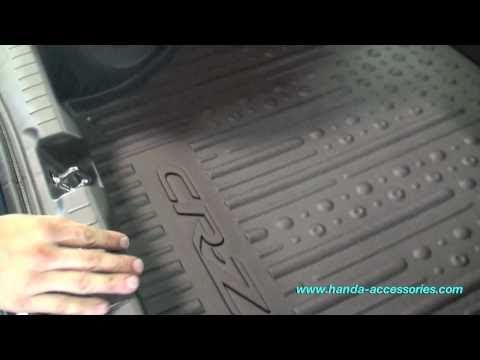
Honda Cr Z
(2010-2016 /
MK 1)
To protect the boot floor and ensure the load adheres to the boot, it may be useful to insert a specifically shaped rubber mat: this operation is qui…

Honda Cr Z
(2010-2016 /
MK 1)
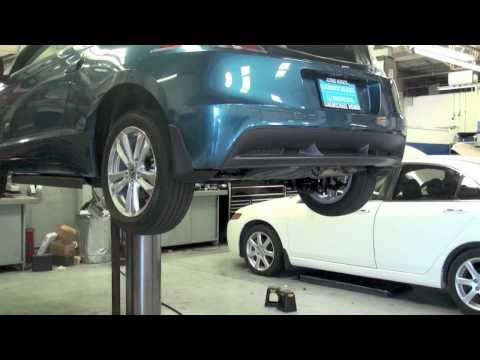
To replace the front brake pads of the Honda CR-Z, you will need to lift the car so that the corresponding front wheel is not in contact with the gro…
Honda Cr Z
(2010-2016 /
MK 1)
This video shows how to install splash guards on all four wheels. To install them on the front wheels, you need to find the right position and make a…
Other guides you may be interested in
|
How to Check the Oil Level on a Jeep Renegade?
To check the oil level on a Jeep Renegade, you need to open the bonnet to access the components inside the engine bay: on the lower left side of the engine block, you will find the dipstick for checking the level. This should be pulled out and thoroughly cleaned with a cloth: once cleaned, reinsert it back into its tube and pull it out immediately after. This way, you can check that the oil mark is between the minimum and maximum levels; finally, you can place the dipstick back in its tube. by ScegliAuto More videos
|

|
For advertising on this site Write to info@scegliauto.com
ScegliAuto is not responsible for any inaccuracy of the data in the lists. To report any inaccuracy or your business (if you own the business in question), please write to info@scegliauto.com
Number of seconds to generate the page: 0.155
(c) ScegliAuto 2026 - info@scegliauto.com - Privacy policy VAT number: IT01247470535 |
