
|
Do it yourself
| |||
| ||||


The procedure to replace the pollen filter on Honda Civic.
Model: Honda Civic
MK 6
- Years:
1995, 1996, 1997, 1998, 1999, 2000, 2001
Video tutorial
In this video tutorial, you can see the procedure for replacing the pollen filter on the Honda Civic. This operation is recommended every 15,000 miles or annually. The pollen filter in this vehicle is located on the passenger side glove compartment, so you need to lower the glove box and remove all items inside; use the two elements (see video) to remove the glove box. Now you are facing the cabin filter cover, place a cloth under the cover to avoid making a mess in the car, then remove the cover, take out the two old filters, and position the new cabin filter following the airflow direction.
Updated on 21 July 2026 by ScegliAuto
Related tutorials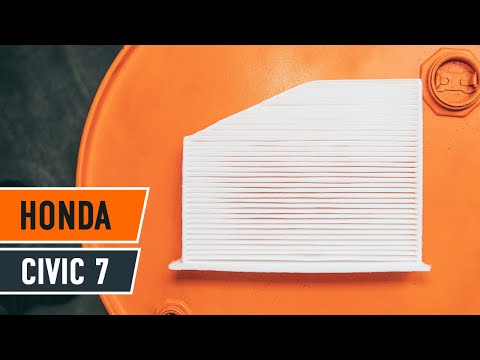
Honda Civic
(2001-2006 /
MK 7)
In this brief tutorial video, learn how to replace the pollen filter on a Honda Civic 7 produced from 2001 to 2007. As shown in the video, replacing …

Honda Civic
(2006-2012 /
MK 8)
In this tutorial, you will see how to remove the cover of the external wing mirror on a Honda Civic, a very simple and quick operation. First, diseng…
Honda Civic
(2016-2021 /
MK 10)
On the Honda Civic, the boot lid may become stuck, for example, due to a problem with the control button or the lock actuator. In such cases, perform…
Other guides you may be interested in
|
How to reset the tyre pressure warning light on the Kia Niro EV?
To reset the tyre pressure warning light on the Kia Niro EV, inflate the tyres until they reach the correct pressure value. This value is indicated on the sticker attached to the driver's door pillar. Once the tyres are inflated, turn on the instrument cluster to check that the warning light has completely disappeared from the display. If it is still present, you may need to drive for a few miles to ensure it disappears completely from the screen. by ScegliAuto More videos
|
|
For advertising on this site Write to info@scegliauto.com
ScegliAuto is not responsible for any inaccuracy of the data in the lists. To report any inaccuracy or your business (if you own the business in question), please write to info@scegliauto.com
Number of seconds to generate the page: 0.019
(c) ScegliAuto 2026 - info@scegliauto.com - Privacy policy VAT number: IT01247470535 |
