
|
Do it yourself
| |||
| ||||


How to Replace the Rear Brake Pads and Rotor on the Honda Ridgeline Mk1
Model: Honda Ridgeline
MK 1
- Years 2005-2014
This guide shows how to replace the rear brake pads and rotor on the Honda Ridgeline Mk1. The first step is to remove the tire and lift the vehicle. Using a 12 mm and a 17 mm wrench, remove the two bolts securing the brake caliper and pull the piece from the bracket. Remove the brake pads and, with a 17 mm wrench, remove the two bolts securing the caliper bracket. Remove the rotor retaining screw and pull out the component; you may need an impact screwdriver for the screw and a hammer to extract the rotor. Clean the rotor and the work area of debris and install the new component, securing it in place. Reattach the brake caliper bracket and replace the pad sliding guides; install the pads after lubricating the contact areas. Retract the brake caliper piston and mount it in place. Tighten everything properly and check the proper functioning of the system.
Updated on 5 August 2026 by ScegliAuto
Video tutorial
Related tutorials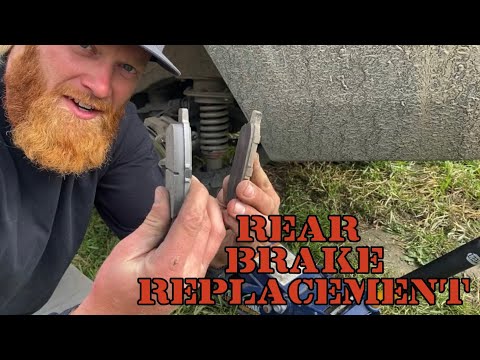
Honda Ridgeline
(2005-2014 /
MK 1)
In this video tutorial, you will see how to replace the brake pads on a Honda Ridgeline. The first step is to purchase new pads from an authorized de…
Honda Ridgeline
(2016-2024 /
MK 2)
If there was a stereotype, it was that Americans loved chrome finishes. However, we can say this is not true, as videos of Americans wanting to chang…
Honda Ridgeline
(2005-2014 /
MK 1)
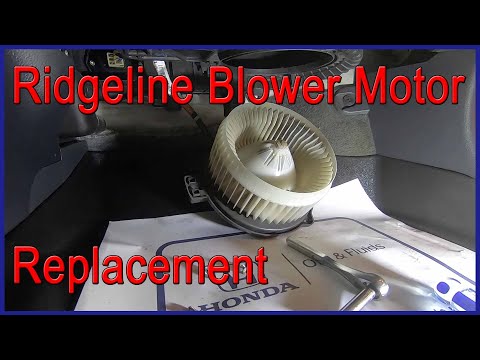
Today, let's go through the steps to remove and replace the cabin fan motor on the Honda Ridgeline, following the instructions below. First, get insi…
Other guides you may be interested in
|
How to Check the Oil Level on a Jeep Renegade?
To check the oil level on a Jeep Renegade, you need to open the bonnet to access the components inside the engine bay: on the lower left side of the engine block, you will find the dipstick for checking the level. This should be pulled out and thoroughly cleaned with a cloth: once cleaned, reinsert it back into its tube and pull it out immediately after. This way, you can check that the oil mark is between the minimum and maximum levels; finally, you can place the dipstick back in its tube. by ScegliAuto More videos
|
|
For advertising on this site Write to info@scegliauto.com
ScegliAuto is not responsible for any inaccuracy of the data in the lists. To report any inaccuracy or your business (if you own the business in question), please write to info@scegliauto.com
Number of seconds to generate the page: 0.387
(c) ScegliAuto 2026 - info@scegliauto.com - Privacy policy VAT number: IT01247470535 |
