
|
Do it yourself
| |||
| ||||


How to Remove the Timing Belt on Hyundai Elantra
Model: Hyundai Elantra
MK 3, XD
- Years:
2000, 2001, 2002, 2003, 2004, 2005, 2006
Video tutorial
Prepare to remove the timing belt on the Hyundai Elantra: lift the car on a column lift or jack and remove the front wheel using a screwdriver to take off the right wheel arch liner. Once these steps are completed, lift the bonnet, remove the engine soundproofing panel and the timing belt cover. Use a suitable spanner to loosen the tensioner pulley and slide the belt off its seat. With a socket wrench, unscrew the tensioner pulley bolt, and remove the water pump as shown in the video. Install the water tank, the tensioner, and the belt itself, tightening everything with the socket wrench. Finally, fit the rivets along with the wheel arch liner and refit the wheel with the tyre onto the vehicle.
Updated on 2 March 2026 by ScegliAuto
Related tutorials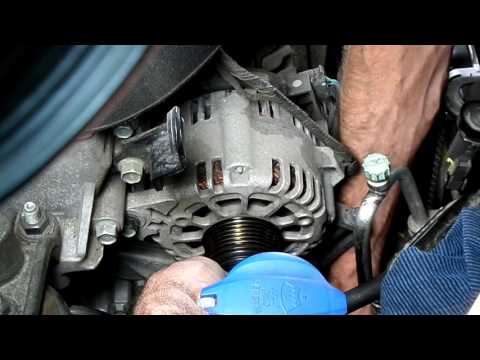
Hyundai Elantra
(2015-2020 /
MK 6)
Want to remove the timing belt without spending money on labour? Here’s how to remove the timing belt on a Hyundai Elantra: open the bonnet and lift …
Hyundai Elantra
(2006-2010 /
MK 4, HD)
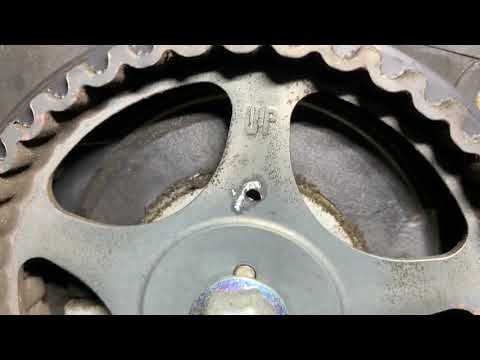
To replace the timing belt on the Hyundai Elantra, loosen the screws securing the cover on the left side of the engine block. Once this cover is remo…

Hyundai Elantra
(2006-2010 /
MK 4, HD)
Learn how to remove and replace the timing belt on a Hyundai Elantra. Lift the car on a column lift and remove the front wheel, using a screwdriver t…
Other guides you may be interested in
|
How to Extract the Spare Wheel from a Mercedes Vito
The spare wheel of a Mercedes Vito is located underneath the vehicle, just below the rear boot. This video demonstrates how to extract the wheel from its compartment. First, open the boot and locate the tools provided with the vehicle to release the wheel; these can be found in a compartment on the right side of the boot. As shown in the video, use the supplied screwdriver to remove the cover cap from the hole where you will insert the socket spanner; this hole is located beneath the rubber seal above the rear bumper. Insert the spanner and attach the extension to allow you to turn it and lower the wheel from under the floor. Finally, detach the pin that allowed the wheel to lower and proceed to extract it from under the vehicle. by ScegliAuto More videos
|
|
For advertising on this site Write to info@scegliauto.com
ScegliAuto is not responsible for any inaccuracy of the data in the lists. To report any inaccuracy or your business (if you own the business in question), please write to info@scegliauto.com
Number of seconds to generate the page: 0.057
(c) ScegliAuto 2026 - info@scegliauto.com - Privacy policy VAT number: IT01247470535 |
