
|
Do it yourself
| |||
| ||||


How to solve the lighting problems of the Jeep Compass instrument panel
Model: Jeep Compass
552, MK 2
- Years 2016-2025
In the Jeep Compass produced from 2021 onwards, the instrument panel lighting is too low, especially in daylight conditions, and the brightness sensor, which should automatically adjust the brightness, stops working; in fact, the "daytime brightness adjustment" appears to be disabled. This is a software issue, a bug in the system that manages the instrumentation. The video shows a forced electronic reset, which temporarily resolves the issue (until the next software update or when the bug reappears). Let's open the hood, disconnect the negative terminal of the battery, and leave it disconnected for 30/60 seconds. Reconnect the negative terminal and turn on the car. Now the lighting should work normally.
Posted on 17 January 2026 by ScegliAuto
Video tutorial
Related tutorials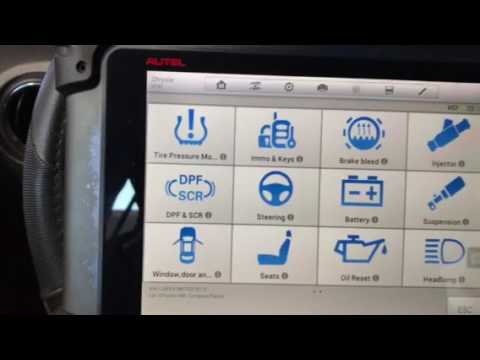
Jeep Compass
(2006-2016 /
MK 1, MK 49)
Today's guide will show us the necessary steps to reset the ECU unit of the Jeep Compass, following the instructions below. First, we get on board th…

Jeep Compass
(2016-2025 /
552, MK 2)
If, when you turn on the instrument cluster of your Jeep Compass second generation (2022), you notice the oil change warning light appearing despite …

Jeep Compass
(2016-2025 /
552, MK 2)
It will be possible to completely remove the Service light from the instrument panel of the Jeep Compass by inserting the ignition key, turning it to…
Other guides you may be interested in
|
How to replace the horn on a Renault Duster - Dacia Duster
Today's main instructions will show you the procedure for removing and replacing the horn or sound signal on the Renault Duster, as well as the Dacia Duster. First, open the bonnet of the vehicle and start removing the front bumper by unscrewing all the fixing screws; you will find the horn right in front of the radiator, as shown in the video. At this point, disconnect the electrical connector and unscrew the bracket screw to remove and replace the horn with the new one; finally, reassemble the front bumper! by ScegliAuto More videos
|
|
For advertising on this site Write to info@scegliauto.com
ScegliAuto is not responsible for any inaccuracy of the data in the lists. To report any inaccuracy or your business (if you own the business in question), please write to info@scegliauto.com
Number of seconds to generate the page: 0.329
(c) ScegliAuto 2026 - info@scegliauto.com - Privacy policy VAT number: IT01247470535 |
