
|
Do it yourself
| |||
| ||||


Replacing the Front Brake Pads
Model: Kia Carens
MK 2
- Years 2006-2013
To replace the front brake pads, first open the bonnet. Unscrew and remove the cap from the brake fluid reservoir to allow the fluid to expand when you push the pistons against the new pads. Proceed by positioning the hydraulic jack to lift the vehicle. Loosen the nuts and then lift the vehicle. Remove the wheel after taking off all the nuts. Sometimes it is necessary to give a few taps here and there on the tyre to free the alloy wheels from their seat. Now unscrew only the lower bolt of the brake caliper, removing it from the disc. Extract the worn pads. The pads may not be completely worn, but at this level, they can be noisy, generating squeaks, rattles, etc. Refit the brake caliper into its seat and use a tool to push the pistons back until they are fully retracted, creating enough space for the new pads. It is good practice to blow away dust and tiny debris with compressed air that could generate future squeaks or rattles. Apply the appropriate copper grease to the back of each pad and remember to insert the pad with the steel clip on the inner side of the disc. Now re-tighten the bolt to secure the brake caliper and at this point, start pressing the brake pedal several times so that the pistons return to direct contact with the pads. You will also notice that the level of brake fluid in the reservoir has risen.
Updated on 9 February 2026 by ScegliAuto
Video tutorial
Related tutorials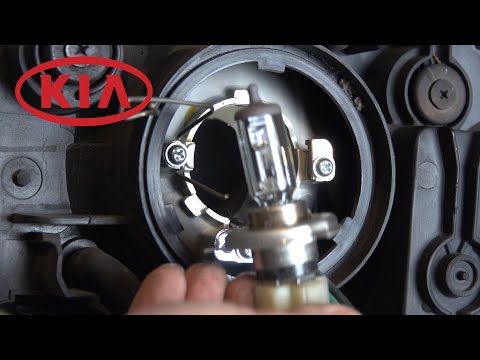
Kia Carens
(2013-2019 /
MK 3)
The tutorial begins with the front headlamp already removed. For the indicator bulb, as clearly shown in the video, simply slightly unscrew the conne…
Kia Carens
(2013-2019 /
MK 3)
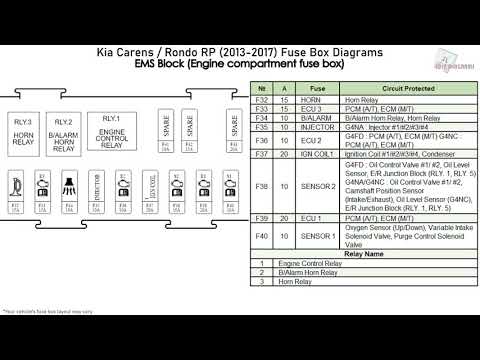
The fuses in the Kia Carens are located inside one of the fuse boxes present in the vehicle, of which there are two in this model. The first is posit…

Kia Carens
(2006-2013 /
MK 2)
Each fuse in the Kia Carens is located inside one of the dedicated fuse boxes present in the vehicle: there are two in this type of vehicle. The firs…
Other guides you may be interested in
|
How to Check the Oil Level on a Jeep Renegade?
To check the oil level on a Jeep Renegade, you need to open the bonnet to access the components inside the engine bay: on the lower left side of the engine block, you will find the dipstick for checking the level. This should be pulled out and thoroughly cleaned with a cloth: once cleaned, reinsert it back into its tube and pull it out immediately after. This way, you can check that the oil mark is between the minimum and maximum levels; finally, you can place the dipstick back in its tube. by ScegliAuto More videos
|
|
For advertising on this site Write to info@scegliauto.com
ScegliAuto is not responsible for any inaccuracy of the data in the lists. To report any inaccuracy or your business (if you own the business in question), please write to info@scegliauto.com
Number of seconds to generate the page: 0.925
(c) ScegliAuto 2026 - info@scegliauto.com - Privacy policy VAT number: IT01247470535 |
