
|
Do it yourself
| |||
| ||||


How to Remove the Exterior Rearview Mirror from a Range Rover Evoque
Model: Land Rover Evoque
L538, MK 1
- Years 2011-2018
Before you can start, open the front door of your Range Rover Evoque. Begin by removing the door panel, disengaging and taking out the inserts. Next, unscrew and remove the fastening screws, and finally, disengage the door panel itself. After that, remove the cover from the upper door pillar, then disconnect the related electrical connectors, and you will reach the nuts that secure the mirror to the door. Proceed by disconnecting the corresponding electrical connector, then unscrew and remove the fastening nuts. Once you complete this step, you can pull out and remove the exterior rearview mirror, and you will have finished the disassembly.
Updated on 14 April 2026 by ScegliAuto
Video tutorial
Related tutorials
Land Rover Evoque
(2011-2018 /
L538, MK 1)
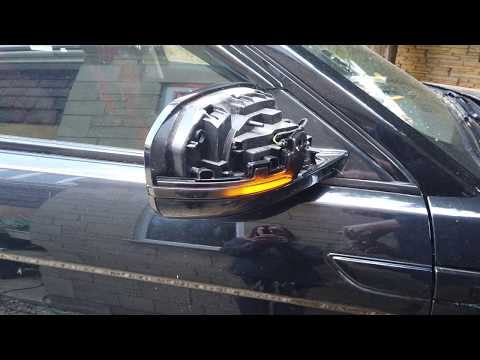
The plastic back cover of the exterior rearview mirror on any vehicle is replaceable, and you can do it yourself, just like shown in the video provid…
Land Rover Evoque
(2011-2018 /
L538, MK 1)
In this short video, we will see how to remove and replace the cap of the external rearview mirror and the turn signal bulb on the first generation L…
Land Rover Evoque
(2011-2018 /
L538, MK 1)
With the Evoque, Land Rover has certainly revolutionized the concept of an SUV, introducing high-level technology and accessories in a compact vehicl…
Other guides you may be interested in
|
How to Reset the Tyre Pressure Light on the Opel Grandland X
While driving, if you notice the tyre pressure warning light coming on, first check the actual inflation pressure of the tyres and, if necessary, restore the pressures recommended by the manufacturer. After restoring the correct pressures, you need to reset the warning light that has illuminated on the instrument cluster. To do this, locate the reset button on the lower central console. Press this button and hold it down for at least 3 seconds, after which the low pressure indication will turn off. by ScegliAuto More videos
|
|
For advertising on this site Write to info@scegliauto.com
ScegliAuto is not responsible for any inaccuracy of the data in the lists. To report any inaccuracy or your business (if you own the business in question), please write to info@scegliauto.com
Number of seconds to generate the page: 0.286
(c) ScegliAuto 2026 - info@scegliauto.com - Privacy policy VAT number: IT01247470535 |
