
|
Do it yourself
| |||
| ||||


Cleaning the Internal Heater Fan on a Land Rover Discovery
Model: Land Rover Discovery
L318, Discovery 2, MK 2
- Years:
1998, 1999, 2000, 2001, 2002, 2003, 2004
Video tutorial
The fan is located on the passenger side under the dashboard and beneath the glove compartment. To remove the fan, you need to disassemble some parts (if this is your first time doing this job, you can use a workshop manual that outlines the procedure). Use a flashlight to illuminate the area, then remove the cardboard cover located just above the footrest on the passenger side; it is held in place by plastic clips that need to be removed. Once the cover is removed, unscrew the four screws holding the footrest in place. After detaching the footrest, remove the drawer and the wiring connectors by simply pressing and pulling back. Now remove the three 8 mm hex screws. Once the fan is removed, clean it and reassemble all components in reverse order.
Updated on 22 May 2026 by ScegliAuto
Related tutorials
…
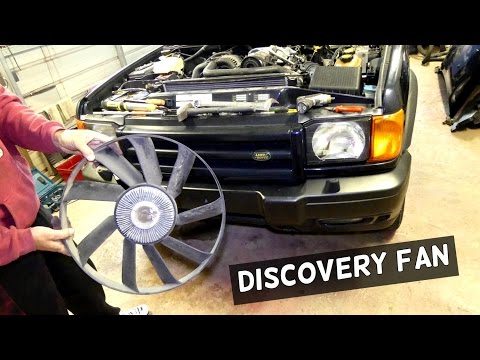
Land Rover Discovery
(1998-2004 /
L318, Discovery 2, MK 2)
Before you begin, open the hood of your Land Rover Discovery. Start by unscrewing and removing the four screws that secure the upper cover of the fan…
Land Rover Discovery
(1998-2004 /
L318, Discovery 2, MK 2)
In this video tutorial, you will see the main steps to remove the cabin fan from a Land Rover Discovery. First, remove everything related to the dash…
Other guides you may be interested in
|
Where to Find and How to Remove the Spare Wheel of a Peugeot 5008?
The spare wheel of a Peugeot 5008 is located under the rear of the vehicle. To remove it, you need to lift the third row of seats to access the fixing bolt that holds the spare wheel in position. Using the correct spanner, proceed to unscrew the fixing bolt until the wheel is no longer secured. At this point, you can extract the spare wheel from underneath the vehicle. Once you have completed this step, you are free to fit the spare wheel. Ensure you correctly remount the spare wheel and securely tighten the fixing bolt when you are finished. by ScegliAuto More videos
|
|
For advertising on this site Write to info@scegliauto.com
ScegliAuto is not responsible for any inaccuracy of the data in the lists. To report any inaccuracy or your business (if you own the business in question), please write to info@scegliauto.com
Number of seconds to generate the page: 0.032
(c) ScegliAuto 2026 - info@scegliauto.com - Privacy policy VAT number: IT01247470535 |
