
|
Do it yourself
| |||
| ||||


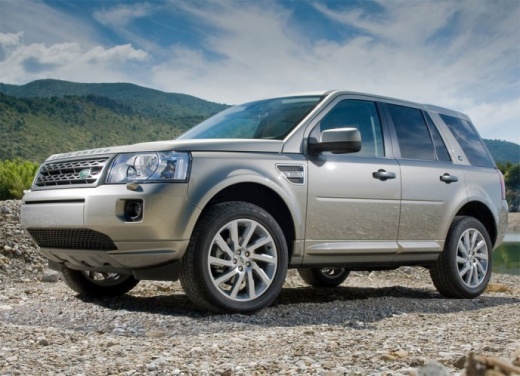
How to change the remote battery on a Land Rover Freelander 2
Model: Land Rover Freelander
Freelander 2
- Years:
2006, 2007, 2008, 2009, 2010, 2011, 2012, 2013, 2014, 2015, 2016
Video tutorial
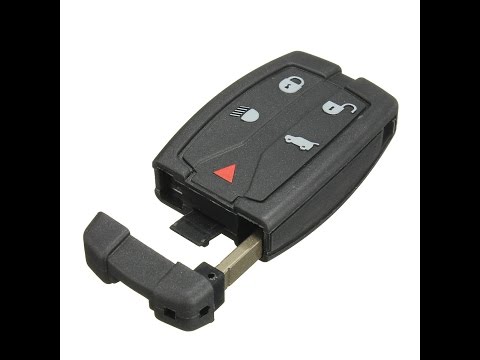
If you think it's time to replace the battery in your Freelander, this guide will provide all the instructions for a complete DIY operation. Start by extracting the metal key from the remote block and, using a craft knife, run along the perimeter of the remote, cutting into the groove between the two sections. Now that you have slightly widened the opening, use a flat screwdriver to pry the remote apart. You will now see the battery; be careful during the replacement, as you could risk breaking the contacts that hold the battery to the circuit (as shown in the video). Once replaced, before closing the remote, apply a thin layer of glue around the perimeter (preferably cyanoacrylate).
Updated on 14 June 2026 by ScegliAuto
Related tutorials
Land Rover Freelander
(2006-2016 /
Freelander 2)
In this tutorial, see how to replace the battery in the remote for the Land Rover Freelander 2, a very simple task. You will need a replacement batte…
Land Rover Freelander
(2006-2016 /
Freelander 2)
Let’s discover in this video how to disassemble the key and replace the battery contained within on the Land Rover Freelander second series. First, t…

Land Rover Freelander
(2006-2016 /
Freelander 2)
Replacing the flat battery of the remote for the Land Rover Freelander involves simple and quick steps you can do yourself. To replace the battery, y…
Other guides you may be interested in
|
How to Remove the Rear Seat of a Hyundai Tucson?
To remove the rear seat of a Hyundai Tucson, follow these steps. Start by moving the front seats to their most forward position to gain space. Next, locate the release lever on the underside of the rear seat, near the floor. Press this lever down while pulling the seat upwards to unlock it from the anchor pins. Once unlocked, tilt the seat upwards and forwards to remove it from its position. Repeat this process for both sides of the rear seat. Be careful of any electrical cables or components that may be connected to the seat during removal. Once the rear seat is removed, the disassembly is complete. by ScegliAuto More videos
|
|
For advertising on this site Write to info@scegliauto.com
ScegliAuto is not responsible for any inaccuracy of the data in the lists. To report any inaccuracy or your business (if you own the business in question), please write to info@scegliauto.com
Number of seconds to generate the page: 0.092
(c) ScegliAuto 2026 - info@scegliauto.com - Privacy policy VAT number: IT01247470535 |
