
|
Do it yourself
| |||
| ||||


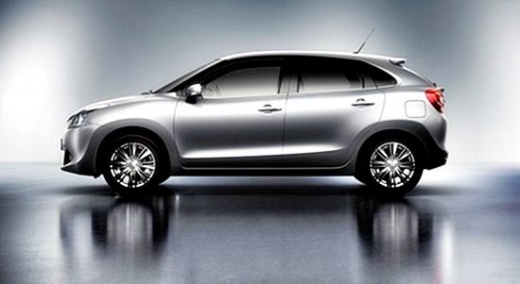
How to Get Hubcaps That Look Like Diamond Alloy Wheels for the Maruti Baleno
Model: Maruti Baleno
MK 2
- Years:
2015, 2016, 2017, 2018, 2019, 2020, 2021, 2022, 2023
Video tutorial
Achieve an awesome look on your Maruti/Suzuki Baleno for just a few dollars. Common plastic hubcaps can be transformed into diamond alloy wheels in just a few hours. The hubcaps should be in good condition or even new. Remove them from the vehicle, clean them thoroughly, and let them dry completely. Get some thin adhesive tape that can perfectly cover the outer design of the hubcap and the Maruti or Suzuki logo. This must be done with absolute precision and patience, as it is crucial for the success of the project. Now, gather some old newspapers and cans of black paint, either glossy or matte, according to your personal preference. Apply two coats of paint and let them dry thoroughly. Remove the tape masking. Reinstall your wheels and admire the result.
Updated on 9 June 2026 by ScegliAuto
Related tutorials
Maruti Baleno
(2015-2023 /
MK 2)
To replace the fuel filter on a Maruti Baleno, lift the vehicle to access the components underneath. The fuel filter is located near the left rear wh…

Maruti Baleno
(2015-2023 /
MK 2)
To replace the battery in a Maruti Baleno, open the hood of the car to access the components inside the engine compartment. On the right side of the …

Maruti Baleno
(2015-2023 /
MK 2)
Today, you will learn the steps to remove and replace the engine air filter on a Maruti Baleno, as well as a Suzuki Baleno, in this brief and simple …
Other guides you may be interested in
|
How to Remove the Rear Seat of a Hyundai Tucson?
To remove the rear seat of a Hyundai Tucson, follow these steps. Start by moving the front seats to their most forward position to gain space. Next, locate the release lever on the underside of the rear seat, near the floor. Press this lever down while pulling the seat upwards to unlock it from the anchor pins. Once unlocked, tilt the seat upwards and forwards to remove it from its position. Repeat this process for both sides of the rear seat. Be careful of any electrical cables or components that may be connected to the seat during removal. Once the rear seat is removed, the disassembly is complete. by ScegliAuto More videos
|
|
For advertising on this site Write to info@scegliauto.com
ScegliAuto is not responsible for any inaccuracy of the data in the lists. To report any inaccuracy or your business (if you own the business in question), please write to info@scegliauto.com
Number of seconds to generate the page: 0.014
(c) ScegliAuto 2026 - info@scegliauto.com - Privacy policy VAT number: IT01247470535 |
