
|
Do it yourself
| |||
| ||||



Video tutorial
If you have a puncture in one of the tyres of the Mazda 2, you can use the specific repair kit to reach a service centre. Remember that the kit is suitable for punctures up to 4 mm. Park the car in a safe area with the valve of the tyre at the lowest point. Take the sealant canister from the kit, shake it well, and insert the injection nozzle. Remove the valve cap, and using the appropriate tool, unscrew the valve core. Attach the sealant injection hose to the valve and inject the entire contents of the canister into the tyre while squeezing the container. Remove the hose and reinsert the valve core. Take the compressor, screw the hose onto the valve, and connect the cables to the power supply. Inflate the tyre until it reaches the recommended pressure. If the tyre is not inflated after ten minutes, contact roadside assistance. If the tyre reaches the correct pressure, you can continue driving to a garage for a permanent repair.
Updated on 19 October 2026 by ScegliAuto
Related tutorials
Mazda 2
(2022-2026 /
Xp210)
The deactivation method of the anti-theft system of the Mazda 2 is the classic one, that is, through the use of the remote control. This can be done …
Mazda 2
(2007-2014 /
MK 2, DH, DE)
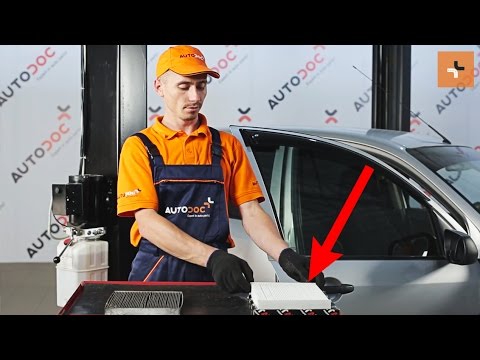
Follow these steps to remove the cabin pollen filter on Mazda Mazda 2: Open the glove compartment and pull down the drawer using a plastic lever (use…

Mazda 2
(2007-2014 /
MK 2, DH, DE)
If you need to manually reset the service indicator light on your Mazda 2, all you have to do is pay attention to the following steps and then put th…
Other guides you may be interested in
|
How to Remove the Toll Tag Holder from the Car Windscreen
The toll tag holder is usually attached to the car windscreen to ensure that the toll tag functions immediately when passing through barriers. However, if you decide to remove the holder, you should follow this procedure: - Insert the toll tag into the holder; - Pull the holder inwards to detach it from the windscreen; you can use a glass scraper or a stiff plastic card to assist you; After removing the holder, it is essential to remove the adhesive from the windscreen. To remove the adhesive, we recommend using a solvent-based spray that will remove the glue without clouding the area. by ScegliAuto More videos
|
|
For advertising on this site Write to info@scegliauto.com
ScegliAuto is not responsible for any inaccuracy of the data in the lists. To report any inaccuracy or your business (if you own the business in question), please write to info@scegliauto.com
Number of seconds to generate the page: 0.010
(c) ScegliAuto 2026 - info@scegliauto.com - Privacy policy VAT number: IT01247470535 |
