
|
Do it yourself
| |||
| ||||


Replacing the External Wing Mirror on a Mazda 3
Model: Mazda 3
BK, MK 1
- Years:
2003, 2004, 2005, 2006, 2007, 2008, 2009
Video tutorial
Introduction: the video shows how to replace a damaged external mirror on a Mazda 3, using the outer cover that matches the body colour. Simply remove the cover provided with the replacement and glue your own with suitable adhesive (the video uses a two-component epoxy). If this part cannot be salvaged, you will need to consult a bodyshop to have it painted the correct colour before proceeding with the installation. WARNING: before purchasing the replacement, pay close attention to the mirror you are buying (the right is very different from the left). Required: flat screwdriver, 8mm socket. Electric screwdriver recommended. Procedure: 1- Using the screwdriver, remove the triangular plastic cover inside the door, complete with speaker. 2- Using the 8mm socket (or electric screwdriver), remove the three bolts securing the mirror. Be careful not to drop the screws inside the door! 3- Position the new mirror securely and insert the screws firmly (the holes are not pre-threaded, and the screw creates the thread the first time it is inserted). Therefore, if using a screwdriver, do not tighten the screws fully, but leave them slightly loose and complete the tightening with a manual spanner to avoid breaking the plastic. 5- Refit the triangular cover complete with speaker and press it into place.
Updated on 20 March 2026 by ScegliAuto
Related tutorials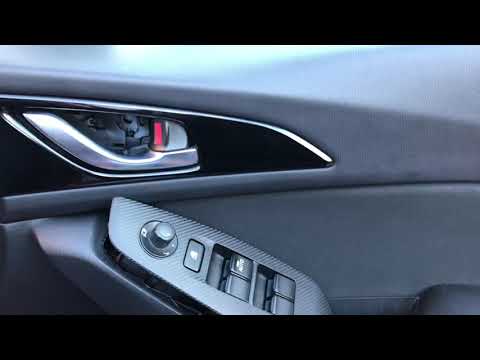
Mazda 3
(2013-2019 /
BN, MK 3, BM)
In this video, you will find instructions on how to remove the external wing mirror on a Mazda 3. First, open the door on the affected side and proce…
Mazda 3
(2009-2013 /
BL, MK 2)
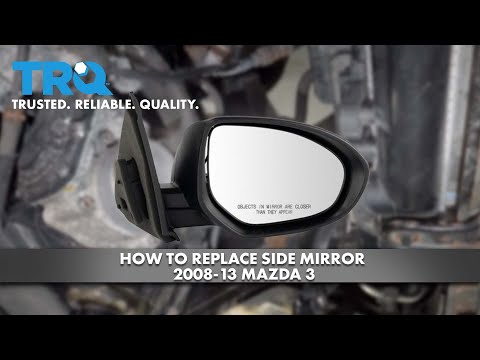
In this brief and simple guide, learn how to remove and replace the external wing mirror on a Mazda 3, second generation, following the instructions …
Mazda 3
(2003-2009 /
BK, MK 1)
Replacing the external wing mirror involves removing the panel above the door. For safety, start by disconnecting the negative terminal of the batter…
Other guides you may be interested in
|
Location of the Jack and Spare Wheel of the Toyota Yaris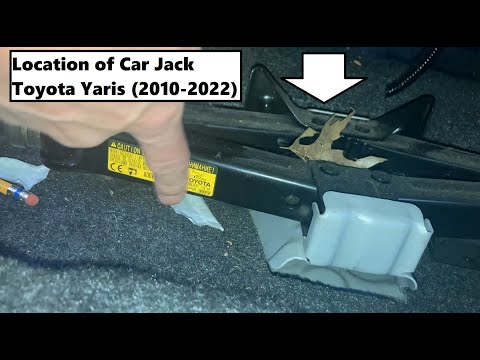
In the unfortunate event that one of the wheels of the Toyota Yaris is punctured, it is useful to know the location of the lifting jack, the spare wheel, the tool to operate the jack, and to unscrew the wheel bolts. The jack is located under the driver's seat, secured to a bracket and protected by a plastic cover, which you can remove by acting on the fixing clips. The spare wheel is located under the floor panel of the boot, secured to the floor by a threaded plastic flange, alongside which you will find the tool, consisting of a bent bar, which is used to operate the jack on one side and to remove the wheel on the other. by ScegliAuto More videos
|
|
For advertising on this site Write to info@scegliauto.com
ScegliAuto is not responsible for any inaccuracy of the data in the lists. To report any inaccuracy or your business (if you own the business in question), please write to info@scegliauto.com
Number of seconds to generate the page: 0.522
(c) ScegliAuto 2026 - info@scegliauto.com - Privacy policy VAT number: IT01247470535 |
