
|
Do it yourself
| |||
| ||||


Installation of the Front Headlamp Bulb
Model: Mazda 3
BK, MK 1
- Years:
2003, 2004, 2005, 2006, 2007, 2008, 2009
Video tutorial
Installing the front headlamp bulb is a fairly simple task. Remove the bolt at the front of the front wing, disconnect the headlamp connector, and pull it forward while lifting the upper support bracket. Once the headlamp is disconnected, release the retaining spring and remove the bulb. The bulb installation can be done by following the reverse procedure used for removal. After installing the bulb, ensure that the rubber cover is securely fitted to guarantee a good seal.
Updated on 9 February 2026 by ScegliAuto
Related tutorials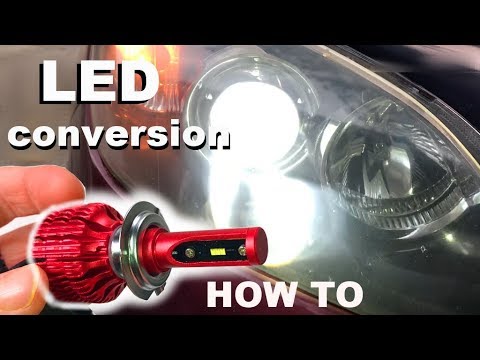
Mazda 3
(2003-2009 /
BK, MK 1)
Learn how to replace the front headlamp bulbs on a Mazda 3 with LED bulbs: open the bonnet (pull the lever located at the bottom right of the dashboa…

Mazda 3
(2013-2019 /
BM, BN, MK 3)
Today, you will learn how to replace the front headlamp bulb on a Mazda 3. To replace the bulb, open the front bonnet of the vehicle and disconnect t…
Mazda 3
(2003-2009 /
BK, MK 1)
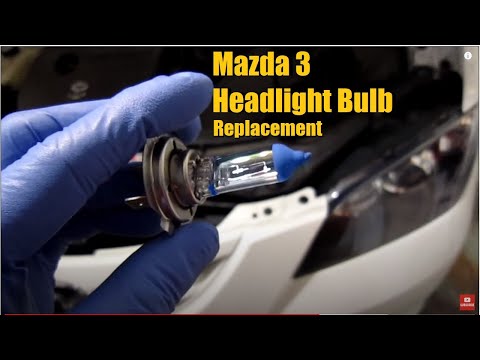
To replace the front headlamp bulb, first remove the plastic cover located between the fuse box and the engine cover. At this point, disconnect the c…
Other guides you may be interested in |
How to Reset the Tyre Pressure Warning Light on the Jeep Renegade?
To reset the tyre pressure warning light on the Jeep Renegade, inflate the tyres until they reach the recommended pressure: this value is indicated on the sticker attached to the driver’s door pillar. Once the tyres are properly inflated, navigate through the menu that appears on the instrument cluster until you find the tyre pressure option. At this point, press and hold the OK button on the right side of the steering wheel to make the warning light disappear. by ScegliAuto More videos
|
|
For advertising on this site Write to info@scegliauto.com
ScegliAuto is not responsible for any inaccuracy of the data in the lists. To report any inaccuracy or your business (if you own the business in question), please write to info@scegliauto.com
Number of seconds to generate the page: 0.009
(c) ScegliAuto 2026 - info@scegliauto.com - Privacy policy VAT number: IT01247470535 |
