
|
Do it yourself
| |||
| ||||


Removal and Replacement of the Rear Anti-Roll Bar
Model: Mazda CX-5
MK 1, KE
- Years 2012-2017
To achieve greater stability at the rear and improved cornering grip, consider replacing the rear anti-roll bar. As seen in the video, the red anti-roll bar has a larger diameter than the original. Before proceeding with the actual installation, lubricate the rubber mounts. Then, screw in the two clamps without tightening them, as they will be positioned once the job is complete. Now, begin removing the original anti-roll bar by positioning yourself under the car, which you should have raised with a jack. Start by unscrewing the two anchoring points of the bar. At this point, unscrew the bolts from the two mounts. Once the original bar is removed, install the new one by securing it to the anchoring points, but do not fully tighten the bolts yet. Now, secure the two mounts, ensuring the bar is perfectly centred by checking that the gaps between the mount and the bar are equal. Proceed to tighten the bolts of the mounts (for those who have one, this can be done with a torque wrench set to 67, 80 Nm) and then those of the anchors. Finally, position the two clamps near the mounts, leaving a gap the thickness of a sheet of paper.
Updated on 9 February 2026 by ScegliAuto
Video tutorial
Related tutorials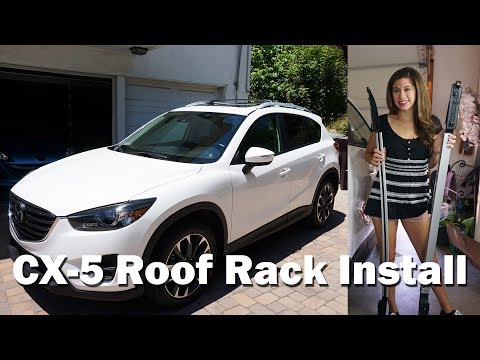
Mazda CX-5
(2012-2017 /
MK 1, KE)
To install a roof rack on a Mazda CX-5, follow these steps. Locate the two longitudinal plastic profiles on the roof of the vehicle and, using a tool…

Mazda CX-5
(2012-2017 /
MK 1, KE)
Before you can begin, open the rear door of your Mazda CX-5. Start by unclipping and removing the inserts from the door panel using a thin but sturdy…
Mazda CX-5
(2012-2017 /
MK 1, KE)
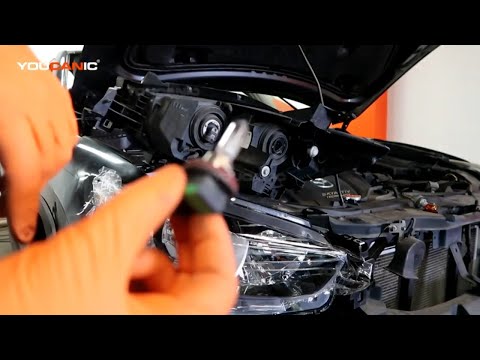
To replace the front headlamp bulb on a Mazda CX-5, open the bonnet to access the screws securing the headlamp assembly in place: once these screws a…
Other guides you may be interested in
|
How to Replace the Remote Battery for the Volvo XC40?
In this tutorial, you will see how to replace the battery in the remote for the Volvo XC40, a very simple and quick operation. For this, you will need a replacement battery of type CR2032 and possibly a small flathead screwdriver. First, remove the front cover by pressing the button on the metal ring, then locate the second button, press it as well, and remove the opposite cover. Next, open the circular cap, take out the old battery, and insert the new one in the opposite direction. Finally, reassemble everything. by ScegliAuto More videos
|
|
For advertising on this site Write to info@scegliauto.com
ScegliAuto is not responsible for any inaccuracy of the data in the lists. To report any inaccuracy or your business (if you own the business in question), please write to info@scegliauto.com
Number of seconds to generate the page: 0.151
(c) ScegliAuto 2026 - info@scegliauto.com - Privacy policy VAT number: IT01247470535 |
