
|
Do it yourself
| |||
| ||||


How to Replace the Rear Wiper Blade of a Mazda CX-5 (2013)
Model: Mazda CX-5
MK 1, KE
- Years 2012-2017
Today, I will explain how to replace the rear wiper blade of a Mazda CX-5. When the rubber profile wears out or detaches, it is necessary to replace the entire blade. Search online or at an auto parts store for a new blade; you can find a Bosch brand one for about £10, ensuring to specify the car model and year. Once purchased, check that it matches the one you have. Lift the rear arm and detach the blade from the holder, keeping it steady to avoid breaking anything. Insert the new blade by pressing it onto the holder. At this point, you have completed the operation and just need to test its function, ensuring to wet the rear window to avoid leaving annoying marks on the glass.
Updated on 31 May 2026 by ScegliAuto
Video tutorial
Related tutorials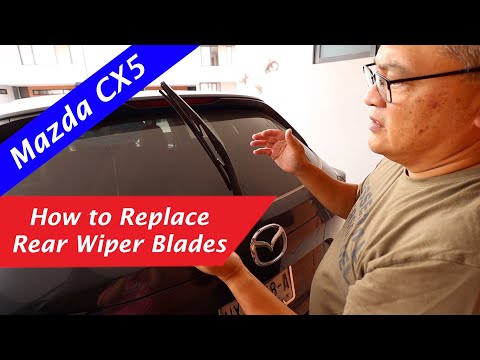
Mazda CX-5
(2017-2024 /
MK 2)
Today, in this video tutorial, see how to remove and replace the rear wiper blade of the Mazda CX-5. First, move to the back of your car and start by…

Mazda CX-5
(2017-2024 /
MK 2)
In this video tutorial, you will see step-by-step instructions for removing and replacing the rear wiper, as well as the front wipers, on the second …
Mazda CX-5
(2012-2017 /
MK 1, KE)
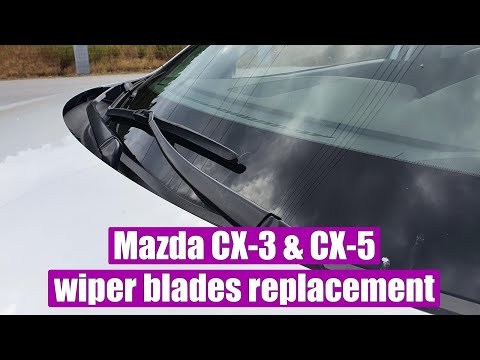
This guide shows how to replace the wiper blades on a Mazda CX-5 Mk1. No special tools are required for the replacement, apart from the correct set o…
Other guides you may be interested in
|
How to Replace the Remote Battery for the Volvo XC40?
In this tutorial, you will see how to replace the battery in the remote for the Volvo XC40, a very simple and quick operation. For this, you will need a replacement battery of type CR2032 and possibly a small flathead screwdriver. First, remove the front cover by pressing the button on the metal ring, then locate the second button, press it as well, and remove the opposite cover. Next, open the circular cap, take out the old battery, and insert the new one in the opposite direction. Finally, reassemble everything. by ScegliAuto More videos
|

|
For advertising on this site Write to info@scegliauto.com
ScegliAuto is not responsible for any inaccuracy of the data in the lists. To report any inaccuracy or your business (if you own the business in question), please write to info@scegliauto.com
Number of seconds to generate the page: 0.052
(c) ScegliAuto 2026 - info@scegliauto.com - Privacy policy VAT number: IT01247470535 |
