
|
Do it yourself
| |||
| ||||


Replacing the Rear Brake Light Bulb
Model: Mazda Cx 7
MK 1
- Years 2006-2012
To replace the brake bulb in the rear light, you do not need to remove the light unit as you can access the back of the light by opening the boot. Remove the side plastic cover, which is clipped in place, located just behind the light housing. Once the rear cover is opened and the plastic cover is removed, access the back of the light and detach the bulb holder by turning it anti-clockwise. At this point, you can extract the old bulb and insert the new one, then reverse the steps to reassemble everything.
Updated on 17 February 2026 by ScegliAuto
Video tutorial
Related tutorials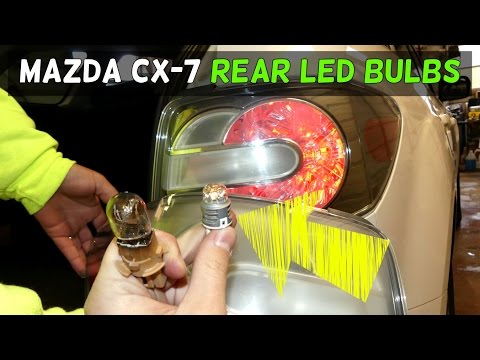
Mazda Cx 7
(2006-2012 /
MK 1)
Replacing the rear light bulbs with LED types will give the vehicle a more modern and appealing look. To perform this operation, you do not need to d…

Mazda Cx 7
(2006-2012 /
MK 1)
Replacing the rear headlamp bulbs is very simple as it is not necessary to remove the headlamp; you can access the bulb holder from the boot by remov…
Mazda Cx 7
(2006-2012 /
MK 1)
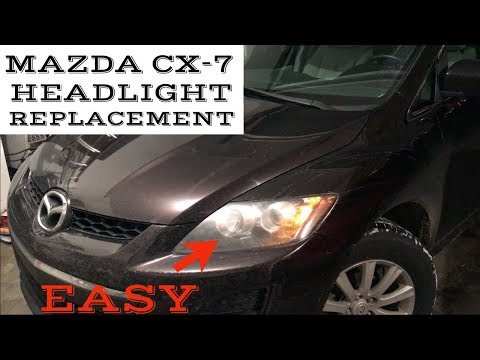
To replace the front headlamp bulb on the Mazda CX-7, remove the rivets located inside the wheel arch corresponding to the headlamp that needs the bu…
Other guides you may be interested in
|
How to Replace the Diesel Filter of the Peugeot 3008 1.5 BlueHDI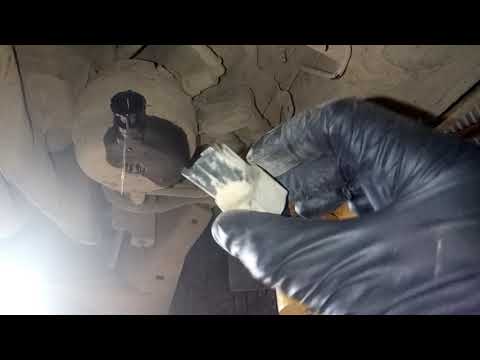
Briefly, we will see the main instructions for dismantling and replacing the diesel filter of the Peugeot 3008 1.5 BlueHDI. First, locate the diesel filter under the vehicle, so it will be necessary to lift it; then disconnect the electrical connector and the fuel lines from the filter, unscrewing the side screws to remove the cartridge, as shown in the video. At this point, replace the diesel filter with the new one, as well as with the original one; then reconnect the pipes and the electrical connector, following the video tutorial to the end! by ScegliAuto More videos
|
|
For advertising on this site Write to info@scegliauto.com
ScegliAuto is not responsible for any inaccuracy of the data in the lists. To report any inaccuracy or your business (if you own the business in question), please write to info@scegliauto.com
Number of seconds to generate the page: 0.647
(c) ScegliAuto 2026 - info@scegliauto.com - Privacy policy VAT number: IT01247470535 |
