
|
Do it yourself
| |||
| ||||


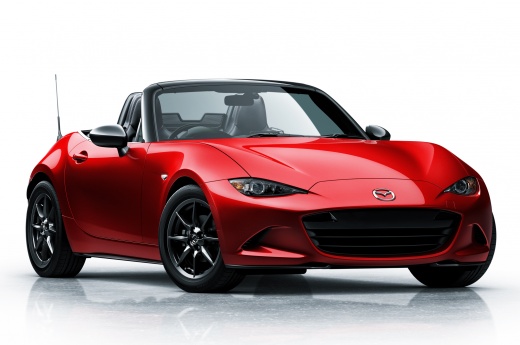
An innovative luggage rack for Mazda MX5
Model: Mazda Mx 5
ND, MK 4
- Years 2015-2024
In this video we see how it is possible to mount a luggage rack to transport extra luggage even on a car that is certainly not suitable for carrying luggage such as a Mazda MX5. In fact, there is a company specialized in the construction of luggage racks for coupe and convertible cars. You can find it on the website boot-bag.com, and it produces a soft and waterproof bag, specially designed for the model of our car, which rests on a soft mat, made specifically to not scratch the paint of the bodywork in any way, and then it is fixed with straps, also soft, that pass inside the trunk, making the attachment safe.
Posted on 9 May 2024 by ScegliAuto
Video tutorial
Related tutorials
Mazda Mx 5
(2015-2024 /
ND, MK 4)
If it is time to replace the engine air filter of your Mazda MX5 (year 2017), but you do not know how to do it, then all you need to do is carefully …

Mazda Mx 5
(2015-2024 /
ND, MK 4)
To complete the manual reset of the service light on your latest model Mazda MX5, you must follow all the steps described in the following guide addr…

Mazda Mx 5
(2015-2024 /
ND, MK 4)
Manually resetting the service light of your 2017 Mazda MX5 is really easy. In this new mini guide of ours, you will find all the steps you need to f…
Other guides you may be interested in
|
Installation of Upgraded Intercooler Radiator with Pipes
Lift the vehicle on suitable axle stands, remove the front wheels, and then the front bumper and grille. Proceed to remove the front headlights; drain the coolant, remove the intercooler radiator and the hoses connecting it to the intake system. Position the new intercooler radiator in the grille, temporarily securing it with cable ties, and mark with a marker the part of the metal that needs to be removed to allow the new hoses to pass through. Cut the marked portion of metal and apply a gasket to the edge. Remove the inner cover of the bumper and position it near the radiator to identify any interfering parts to eliminate: again, apply a gasket to the edge of the cut. Create brackets for securing the new radiator and proceed with the installation of the connecting pipes from the radiator to the intake, shaping and connecting them appropriately. Finally, reassemble the bumper, headlights, and grille. by ScegliAuto More videos
|
|
For advertising on this site Write to info@scegliauto.com
ScegliAuto is not responsible for any inaccuracy of the data in the lists. To report any inaccuracy or your business (if you own the business in question), please write to info@scegliauto.com
Number of seconds to generate the page: 0.092
(c) ScegliAuto 2026 - info@scegliauto.com - Privacy policy VAT number: IT01247470535 |