
|
Do it yourself
| |||
| ||||


Replacing T5 Bulbs for Climate Control
Model: Mercedes Clk
A209, C209, W209
- Years:
2002, 2003, 2004, 2005, 2006, 2007, 2008, 2009, 2010
Video tutorial
Using a small flathead screwdriver, detach the plastic trim around the climate control knobs. Unscrew the two fixing screws of the climate control support, located at the top corners, and pull it out from its housing, disconnecting the connector attached to it. Pull off the control knobs simply by tugging them, and with a shaped steel wire hook, extract the retaining pins of the two side dials by pressing them from inside the knob housing (there's a rectangular hole to insert the steel wire). At this point, unclip the coupling tabs along the edge of the climate control cover and remove it to access the electronic board where the two lamp holders for the T5 illumination bulbs are located: then extract the old bulbs and insert the new ones (it is recommended to connect the plug and check its proper functioning before reassembling everything). Once the bulbs are replaced, reapply the control cover onto the support with the electronic board, engaging the respective fixing tabs; insert the plastic pins previously removed; apply the knobs; connect the plug and reposition the controls in their designated housing, tightening the fixing screws. Finally, reattach the trim.
Updated on 3 February 2026 by ScegliAuto
Related tutorials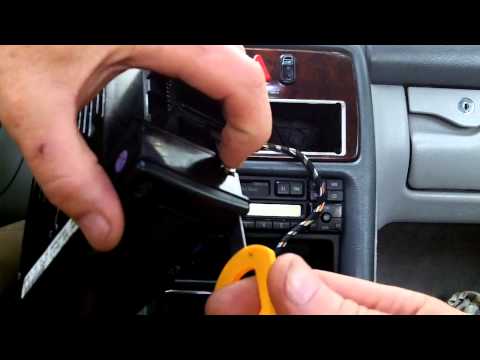
Mercedes Clk
(1997-2003 /
A208, C208, W208)
To replace the backlighting bulbs of the climate control switches, you need to have the appropriate keys to disassemble the control panel: insert the…

Mercedes Clk
(1997-2003 /
A208, C208, W208)
Using the climate control commands, you can check for any fault codes: for their meanings, refer to the user and maintenance manual where you can fin…

Mercedes Clk
(1997-2003 /
A208, C208, W208)
Using a plastic wedge, remove the base of the gear knob from its housing and disconnect the connectors. Slightly unscrew and pull the gear knob and g…
Other guides you may be interested in |
How to Remove the Rear Seat of a Hyundai Tucson?
To remove the rear seat of a Hyundai Tucson, follow these steps. Start by moving the front seats to their most forward position to gain space. Next, locate the release lever on the underside of the rear seat, near the floor. Press this lever down while pulling the seat upwards to unlock it from the anchor pins. Once unlocked, tilt the seat upwards and forwards to remove it from its position. Repeat this process for both sides of the rear seat. Be careful of any electrical cables or components that may be connected to the seat during removal. Once the rear seat is removed, the disassembly is complete. by ScegliAuto More videos
|
|
For advertising on this site Write to info@scegliauto.com
ScegliAuto is not responsible for any inaccuracy of the data in the lists. To report any inaccuracy or your business (if you own the business in question), please write to info@scegliauto.com
Number of seconds to generate the page: 0.012
(c) ScegliAuto 2026 - info@scegliauto.com - Privacy policy VAT number: IT01247470535 |
