
|
Do it yourself
| |||
| ||||


How to Replace the Rear Brake Discs and Pads on a Mercedes Benz A-Class A250 W176
Model: Mercedes Classe A
W176
- Years 2012-2018
This guide shows how to replace the rear brake pads and discs on a Mercedes Benz A-Class A250 W176. The first step is to secure the vehicle and release the parking brake by operating the appropriate lever. Turn off the instrument cluster and enter the service menu by holding down the call and confirm buttons on the steering wheel. Select the option for brake pad replacement and confirm the operation. At this point, you can remove the rear tire. Remove the two bolts securing the caliper and take it out of position. Unscrew the two bolts of the caliper bracket and remove it. Remove the Torx screw on the front of the disc and take off the part. Install the new element in position and tighten it; reattach the caliper bracket and push the brake piston fully back. Replace the brake pad sliding guides and apply lubricant to the braking elements and install them in position. Reattach the brake caliper and tighten it in place. Reinstall the wheel and, from the instrument cluster, confirm the reset of the brake working position. Check the proper functioning of the brakes before hitting the road.
Updated on 30 May 2026 by ScegliAuto
Video tutorial
Related tutorials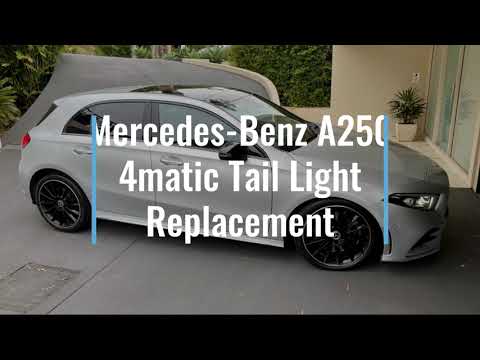
Mercedes Classe A
(2012-2018 /
W176)
This guide shows how to disassemble the tail light from a Mercedes Benz A-Class A250 4MATIC W176. The first step is to remove the trim panel from the…
Mercedes Classe A
(2012-2018 /
W176)
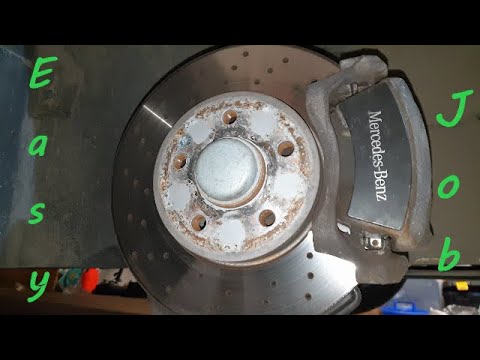
Before you begin, lift the front of your Mercedes A-Class. Start by removing the front wheel by loosening the lug nuts. After this, remove the bolts …

Mercedes Classe A
(2012-2018 /
W176)
This guide shows how to replace the battery on the Mercedes Benz A-Class A200 W176. The first step is to open the hood and remove the protective cove…
Other guides you may be interested in
|
How to Repair the Key Spring of the Peugeot 207?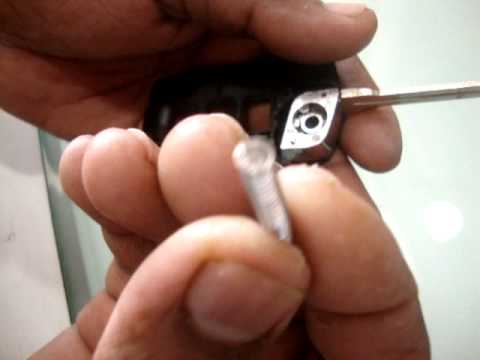
Over time, frequent use of the key's flip mechanism in the vehicle, dozens of times a day, inevitably leads to wear of the internal spring. As shown in this video, replacing the spring is quite simple and takes little time. After opening the casing halfway, first position the key, then the spring housing, and finally insert the spring into the previously mentioned housing. Close the casing by rotating it clockwise, ensuring all components fit perfectly, and test the key's flip mechanism. by ScegliAuto More videos
|

|
For advertising on this site Write to info@scegliauto.com
ScegliAuto is not responsible for any inaccuracy of the data in the lists. To report any inaccuracy or your business (if you own the business in question), please write to info@scegliauto.com
Number of seconds to generate the page: 0.213
(c) ScegliAuto 2026 - info@scegliauto.com - Privacy policy VAT number: IT01247470535 |
