
|
Do it yourself
| |||
| ||||


Instructions for Repairing the Front Bumper
Model: Mercedes Classe M
W163
- Years:
1997, 1998, 1999, 2000, 2001, 2002, 2003, 2004, 2005
Video tutorial
In the case of a broken bumper with even a portion detached, the repair becomes a full reconstruction and requires not only some skill but also a range of special products, all of which can be found in specialist shops. If the bumper to be repaired is missing a piece, the first step is to create a template of the missing piece from an old, discarded bumper; once shaped, attach it to the bumper with rivets and flatten the heads. Then, apply adhesive mesh to promote the adhesion of the liquid resin that will be applied for filling. Once the resin has dried, sand it down and apply a spatula of resin to better shape the form; finally, finish with filler, sanding it down to restore the original geometry. Once the preparation is complete, apply a primer, sand the entire bumper wet, and finally paint it.
Updated on 15 February 2026 by ScegliAuto
Related tutorials
Mercedes Classe M
(1997-2005 /
W163)
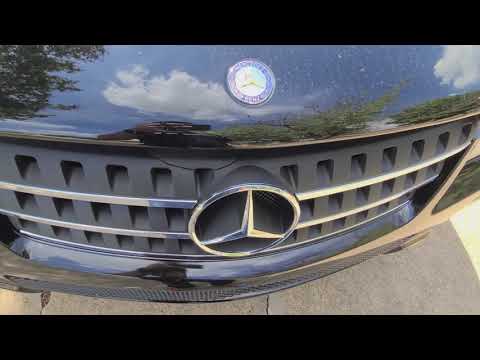
This guide provides instructions for removing and replacing the front bumper of the Mercedes M-Class in simple steps. First, open the bonnet of the v…
Mercedes Classe M
(2005-2011 /
W164)
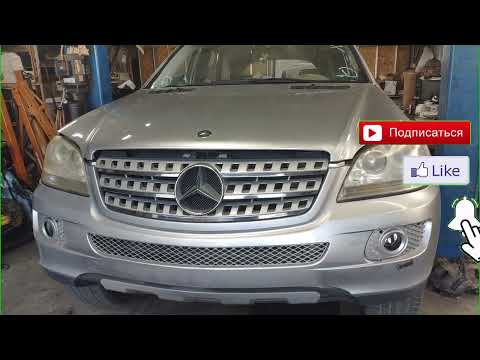
Today, we will discover the step-by-step instructions that will allow you to remove and replace the front bumper grille on the Mercedes M-Class. Firs…
Mercedes Classe M
(2005-2011 /
W164)
Today, we will discover how to remove and replace the front bumper of the Mercedes ML in simple steps. First, lift the vehicle and start unscrewing t…
Other guides you may be interested in |
How to Remove the Rear Seat of a Hyundai Tucson?
To remove the rear seat of a Hyundai Tucson, follow these steps. Start by moving the front seats to their most forward position to gain space. Next, locate the release lever on the underside of the rear seat, near the floor. Press this lever down while pulling the seat upwards to unlock it from the anchor pins. Once unlocked, tilt the seat upwards and forwards to remove it from its position. Repeat this process for both sides of the rear seat. Be careful of any electrical cables or components that may be connected to the seat during removal. Once the rear seat is removed, the disassembly is complete. by ScegliAuto More videos
|
|
For advertising on this site Write to info@scegliauto.com
ScegliAuto is not responsible for any inaccuracy of the data in the lists. To report any inaccuracy or your business (if you own the business in question), please write to info@scegliauto.com
Number of seconds to generate the page: 0.026
(c) ScegliAuto 2026 - info@scegliauto.com - Privacy policy VAT number: IT01247470535 |
