
|
Do it yourself
| |||
| ||||


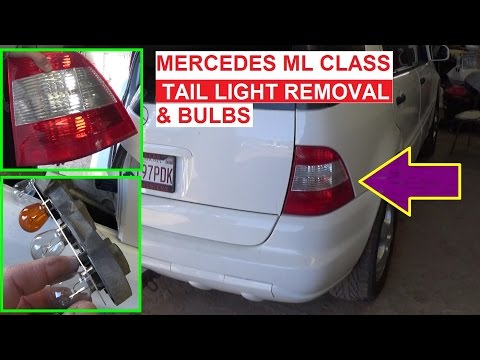
Replacing the Third Brake Light Bulb
Model: Mercedes Classe M
W163
- Years 1997-2005
The operation we will observe in the images of the corresponding video is really simple and within everyone's reach. To replace the third brake light bulb, simply open the tailgate. Release the protective cover of the third brake light by pressing on the sides. At this point, also detach the reflector or screen that supports the bulb. Remove the old bulb and replace it with a new one. Refit the reflector screen and then the protective cover. Check the correct operation with the help of another person who will press the brake pedal. Car model: Mercedes W163 ML 320.
Updated on 15 February 2026 by ScegliAuto
Video tutorial
Related tutorials
Mercedes Classe M
(2011-2018 /
W166)
All we need to replace the rear headlight bulb of the 2012 Mercedes M-Class is a bulb and a flat-head screwdriver. Let's start by opening the trunk a…

Mercedes Classe M
(2011-2018 /
W166)
Replacing the rear headlight bulb of the 2014 Mercedes M-Class is a simple and quick operation to be carried out independently. To perform this opera…
Mercedes Classe M
(1997-2005 /
W163)
To replace the bulb of the rear headlamp, you need to remove the headlamp itself. Open the boot, unscrew the fixing screws of the rear headlamp locat…
Other guides you may be interested in
|
Installation of Upgraded Intercooler Radiator with Pipes
Lift the vehicle on suitable axle stands, remove the front wheels, and then the front bumper and grille. Proceed to remove the front headlights; drain the coolant, remove the intercooler radiator and the hoses connecting it to the intake system. Position the new intercooler radiator in the grille, temporarily securing it with cable ties, and mark with a marker the part of the metal that needs to be removed to allow the new hoses to pass through. Cut the marked portion of metal and apply a gasket to the edge. Remove the inner cover of the bumper and position it near the radiator to identify any interfering parts to eliminate: again, apply a gasket to the edge of the cut. Create brackets for securing the new radiator and proceed with the installation of the connecting pipes from the radiator to the intake, shaping and connecting them appropriately. Finally, reassemble the bumper, headlights, and grille. by ScegliAuto More videos
|
|
For advertising on this site Write to info@scegliauto.com
ScegliAuto is not responsible for any inaccuracy of the data in the lists. To report any inaccuracy or your business (if you own the business in question), please write to info@scegliauto.com
Number of seconds to generate the page: 0.046
(c) ScegliAuto 2026 - info@scegliauto.com - Privacy policy VAT number: IT01247470535 |