
|
Do it yourself
| |||
| ||||


Front Wheel Hub Bearing Replacement
Model: Mercedes Classe M
W163
- Years:
1997, 1998, 1999, 2000, 2001, 2002, 2003, 2004, 2005
Video tutorial
To replace the front hub bearing, lift the vehicle on a ramp and remove the front wheel, brake caliper, disc, and the central nut securing the driveshaft to the hub, then extract the driveshaft with a few taps of a hammer (tap on the nut before fully removing it and not on the threads of the driveshaft); disconnect the track rod end from the hub support using a fork puller, free the cable passes, and the speed sensor; remove the upper and lower suspension arm ball joints. Once the hub support is free, extract the hub itself and proceed to remove the bearing by removing the retaining circlip and using a press to extract the old bearing and insert the new one; then apply the hub and proceed in reverse for reassembly.
Updated on 16 February 2026 by ScegliAuto
Related tutorials
Mercedes Classe M
(1997-2005 /
W163)
In this guide, you will find instructions to help you remove and replace the rear wheel bearing on the Mercedes M-Class. First, lift the vehicle and …

Mercedes Classe M
(1997-2005 /
W163)
To remove the hub carrier, first loosen the wheel nuts and then lift the car, always observing safety regulations, to completely remove the wheel. At…
Mercedes Classe M
(1997-2005 /
W163)
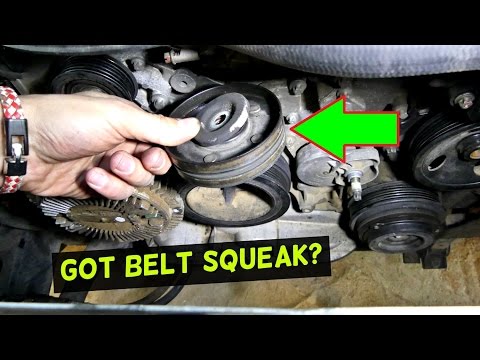
If you hear a squeaking noise from the front of the engine while it is running, it may be caused by a pulley driven by the auxiliary belt. To confirm…
Other guides you may be interested in
|
How to Remove the Rear Seat of a Hyundai Tucson?
To remove the rear seat of a Hyundai Tucson, follow these steps. Start by moving the front seats to their most forward position to gain space. Next, locate the release lever on the underside of the rear seat, near the floor. Press this lever down while pulling the seat upwards to unlock it from the anchor pins. Once unlocked, tilt the seat upwards and forwards to remove it from its position. Repeat this process for both sides of the rear seat. Be careful of any electrical cables or components that may be connected to the seat during removal. Once the rear seat is removed, the disassembly is complete. by ScegliAuto More videos
|
|
For advertising on this site Write to info@scegliauto.com
ScegliAuto is not responsible for any inaccuracy of the data in the lists. To report any inaccuracy or your business (if you own the business in question), please write to info@scegliauto.com
Number of seconds to generate the page: 0.028
(c) ScegliAuto 2026 - info@scegliauto.com - Privacy policy VAT number: IT01247470535 |
