
|
Do it yourself
| |||
| ||||


Replacement of the rear hatch button of the Mini R56
Let's see how to replace the tailgate button of a Mini R56: we can find the replacement part on Amazon with the code B0CQM8B3J3 at a price of 12.49 euros, free one-day delivery for Prime customers. The old button cover will break during removal; we use a small flat screwdriver between the original seal and the metal frame of the tailgate. We cut and lift the glued rubber seal, levering little by little and moving along the entire perimeter. Once the bulk of the old rubber is removed, we scrape off the remaining glue from the metal seat, removing the residue with isopropyl alcohol. We put the new button cover in the right direction: in this way the new piece does not need glue, but it is fixed mechanically, pressing firmly with the fingertips along the entire lower and side perimeter. If we had removed the interior lining of the tailgate for better access, it is time to reassemble it. The next time we wash the car, we check that no more water enters from the button area.
Posted on 22 October 2025 by ScegliAuto
Video tutorial
Related tutorials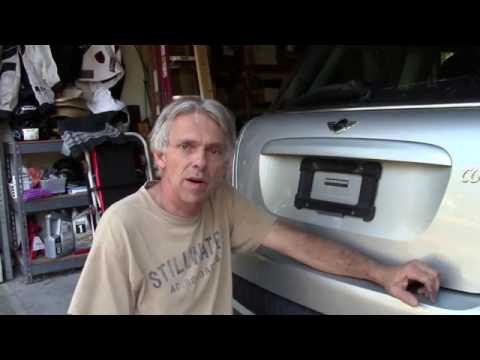
Mini
(2001-2007 /
R53, R50, R52)
In this video tutorial, we will see how to disassemble and replace, or repair, the rear door button of the Mini Cooper, in simple and quick steps. Fi…
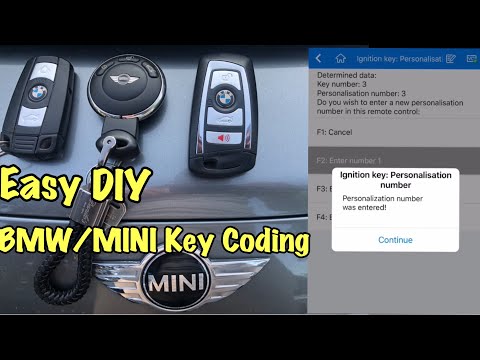
Mini
(2007-2014 /
R55, R57, R56)
In order to program the key of the Mini R56 you need to install the bluetooth device shown in the video inside the OBD port and program it using the …
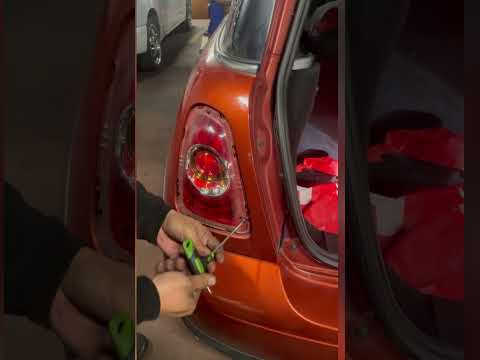
Mini
(2007-2014 /
R55, R57, R56)
If you need to remove one of the rear lights of your Mini Cooper R56 but you don't know how to do it, don't worry because we will explain step by ste…
Other guides you may be interested in
|
Installation of Upgraded Intercooler Radiator with Pipes
Lift the vehicle on suitable axle stands, remove the front wheels, and then the front bumper and grille. Proceed to remove the front headlights; drain the coolant, remove the intercooler radiator and the hoses connecting it to the intake system. Position the new intercooler radiator in the grille, temporarily securing it with cable ties, and mark with a marker the part of the metal that needs to be removed to allow the new hoses to pass through. Cut the marked portion of metal and apply a gasket to the edge. Remove the inner cover of the bumper and position it near the radiator to identify any interfering parts to eliminate: again, apply a gasket to the edge of the cut. Create brackets for securing the new radiator and proceed with the installation of the connecting pipes from the radiator to the intake, shaping and connecting them appropriately. Finally, reassemble the bumper, headlights, and grille. by ScegliAuto More videos
|

|
For advertising on this site Write to info@scegliauto.com
ScegliAuto is not responsible for any inaccuracy of the data in the lists. To report any inaccuracy or your business (if you own the business in question), please write to info@scegliauto.com
Number of seconds to generate the page: 0.052
(c) ScegliAuto 2026 - info@scegliauto.com - Privacy policy VAT number: IT01247470535 |