
|
Do it yourself
| |||
| ||||



How to remove the airbag control unit from a Mini Cooper
Model: Mini Mini
- Years:
2007, 2008, 2009, 2010, 2011, 2012, 2013, 2014
Video tutorial
The first step to perform this operation is to disconnect the negative battery cable and wait 10/15 minutes to fully discharge the airbag capacitors. The control unit is located under the central console between the handbrake and the gear lever. Remove the three Torx T20 screws that secure the central console (1 behind the front cup holder and 2 inside the glove compartment under the armrest). Lift the central console from the back and move it forward: now you can see the control unit fixed to the central tunnel with three nuts. Disconnect all electrical connectors, unscrew the fixing nuts, and remove it from its housing. Remember that if you need to replace it, the new module must be programmed and coded with the vehicle's VIN number; otherwise, the airbag warning light will remain on and the system will not function correctly.
Posted on 19 November 2026 by ScegliAuto
Related tutorials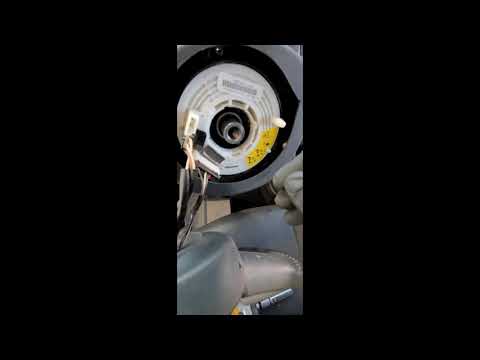
Mini
(2001-2007 /
R50, R52, R53)
Before starting, disconnect the battery of your Mini Cooper for safety. Begin by sitting in the driver's seat. Next, unscrew and remove the rear scre…
Mini
(2001-2007 /
R50, R52, R53)
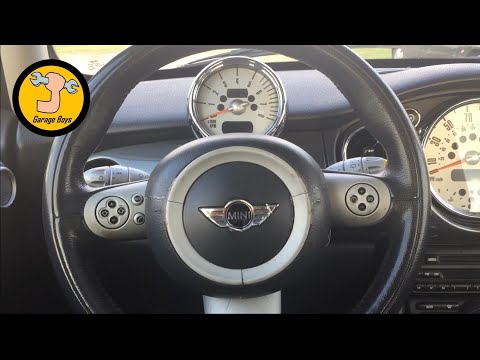
Want to remove the airbag or steering wheel from the Mini Cooper? Here’s how to unlock the airbag from above the car's steering wheel. Insert the scr…

Mini
(2007-2014 /
R57, R56, R55)
Today we will explain how to remove the airbag on a Mini Cooper R56 model vehicle. This operation is similar for many car models on the market; to re…
ScegliAuto offers an extensive international collection of automotive tutorials available in 12 languages. Each guide combines instructional videos with original explanations written by experienced human editors, along with information about the car models covered.
Other guides you may be interested in
|
Replacing the Glow Plugs on the Fiat Ducato 2.3 Multijet
Today, we will go through the main instructions to remove and replace the glow plugs on the Fiat Ducato 2.3 Multijet. First, open the bonnet of the vehicle and begin by removing the front bumper; to access the glow plugs, it will also be necessary to remove the cooling radiator and the intercooler by unscrewing the bracket bolts and disconnecting the various pipes. Now disconnect the connectors from the glow plugs and use a socket wrench with an extension to unscrew and remove them, replacing them with new original ones. by ScegliAuto More videos
|
|
For advertising on this site Write to info@scegliauto.com
ScegliAuto is not responsible for any inaccuracy of the data in the lists. To report any inaccuracy or your business (if you own the business in question), please write to info@scegliauto.com
Number of seconds to generate the page: 0.055
(c) ScegliAuto 2026 - info@scegliauto.com - Privacy policy - About us VAT number: IT01247470535 |
